
Run the demo VM on Proxmox VE
Import the published soctalk-demo-<ver>.qcow2 image into Proxmox VE and boot it. qcow2 is Proxmox's native disk format, so this is a one-command import, no conversion step.
This path is for evaluators and demos: for a production install on your own cluster see Install. Validated on Proxmox VE 8.4.
Prerequisites
- A Proxmox VE 8.x node with ≥ 4 vCPU / 8 GB RAM / 60 GB storage to spare (sizing).
- A storage that accepts Disk image content (the default
local-lvmor a directory storage likelocalwith Disk image enabled). - Shell access to the node (the disk import is one
qmcommand; everything else happens in the web UI).
1. Download the image onto the node
SSH to the Proxmox node:
VER=<ver>   # e.g. 0.2.1
curl -L -O https://github.com/soctalk/soctalk/releases/latest/download/soctalk-demo-$VER.qcow2.xz
curl -L -O https://github.com/soctalk/soctalk/releases/latest/download/SHA256SUMS.txt
sha256sum -c SHA256SUMS.txt --ignore-missing
xz -d soctalk-demo-$VER.qcow2.xz
2. Build the cloud-init seed ISO
A NoCloud seed ISO creates an ops user with your SSH key. Without it you can still log in as the build-time ubuntu:packer user (see SSH access), but that credential is in the public source tree, provide the seed before exposing the VM to a network you don't trust. On the node, or any Linux box:
cat > user-data <<'EOF'
#cloud-config
users:
  - name: ops
    sudo: ALL=(ALL) NOPASSWD:ALL
    shell: /bin/bash
    ssh_authorized_keys:
      - ssh-ed25519 AAAA...your-key
EOF
cat > meta-data <<'EOF'
instance-id: soctalk-demo-001
local-hostname: soctalk-demo
EOF
genisoimage -output soctalk-seed.iso -volid cidata -joliet -rock user-data meta-data
# (apt install genisoimage if missing; cloud-localds from cloud-image-utils also works)
mv soctalk-seed.iso /var/lib/vz/template/iso/
If you built the ISO elsewhere, upload it in the UI instead: select the local storage → ISO Images → Upload.
TIP
You can skip the wizard entirely by adding /etc/soctalk/values.yaml + /etc/soctalk/llm.key to the seed via write_files: see Optional: cloud-init seed.
3. Create the VM in the web UI
Click Create VM (top right) and walk the wizard:
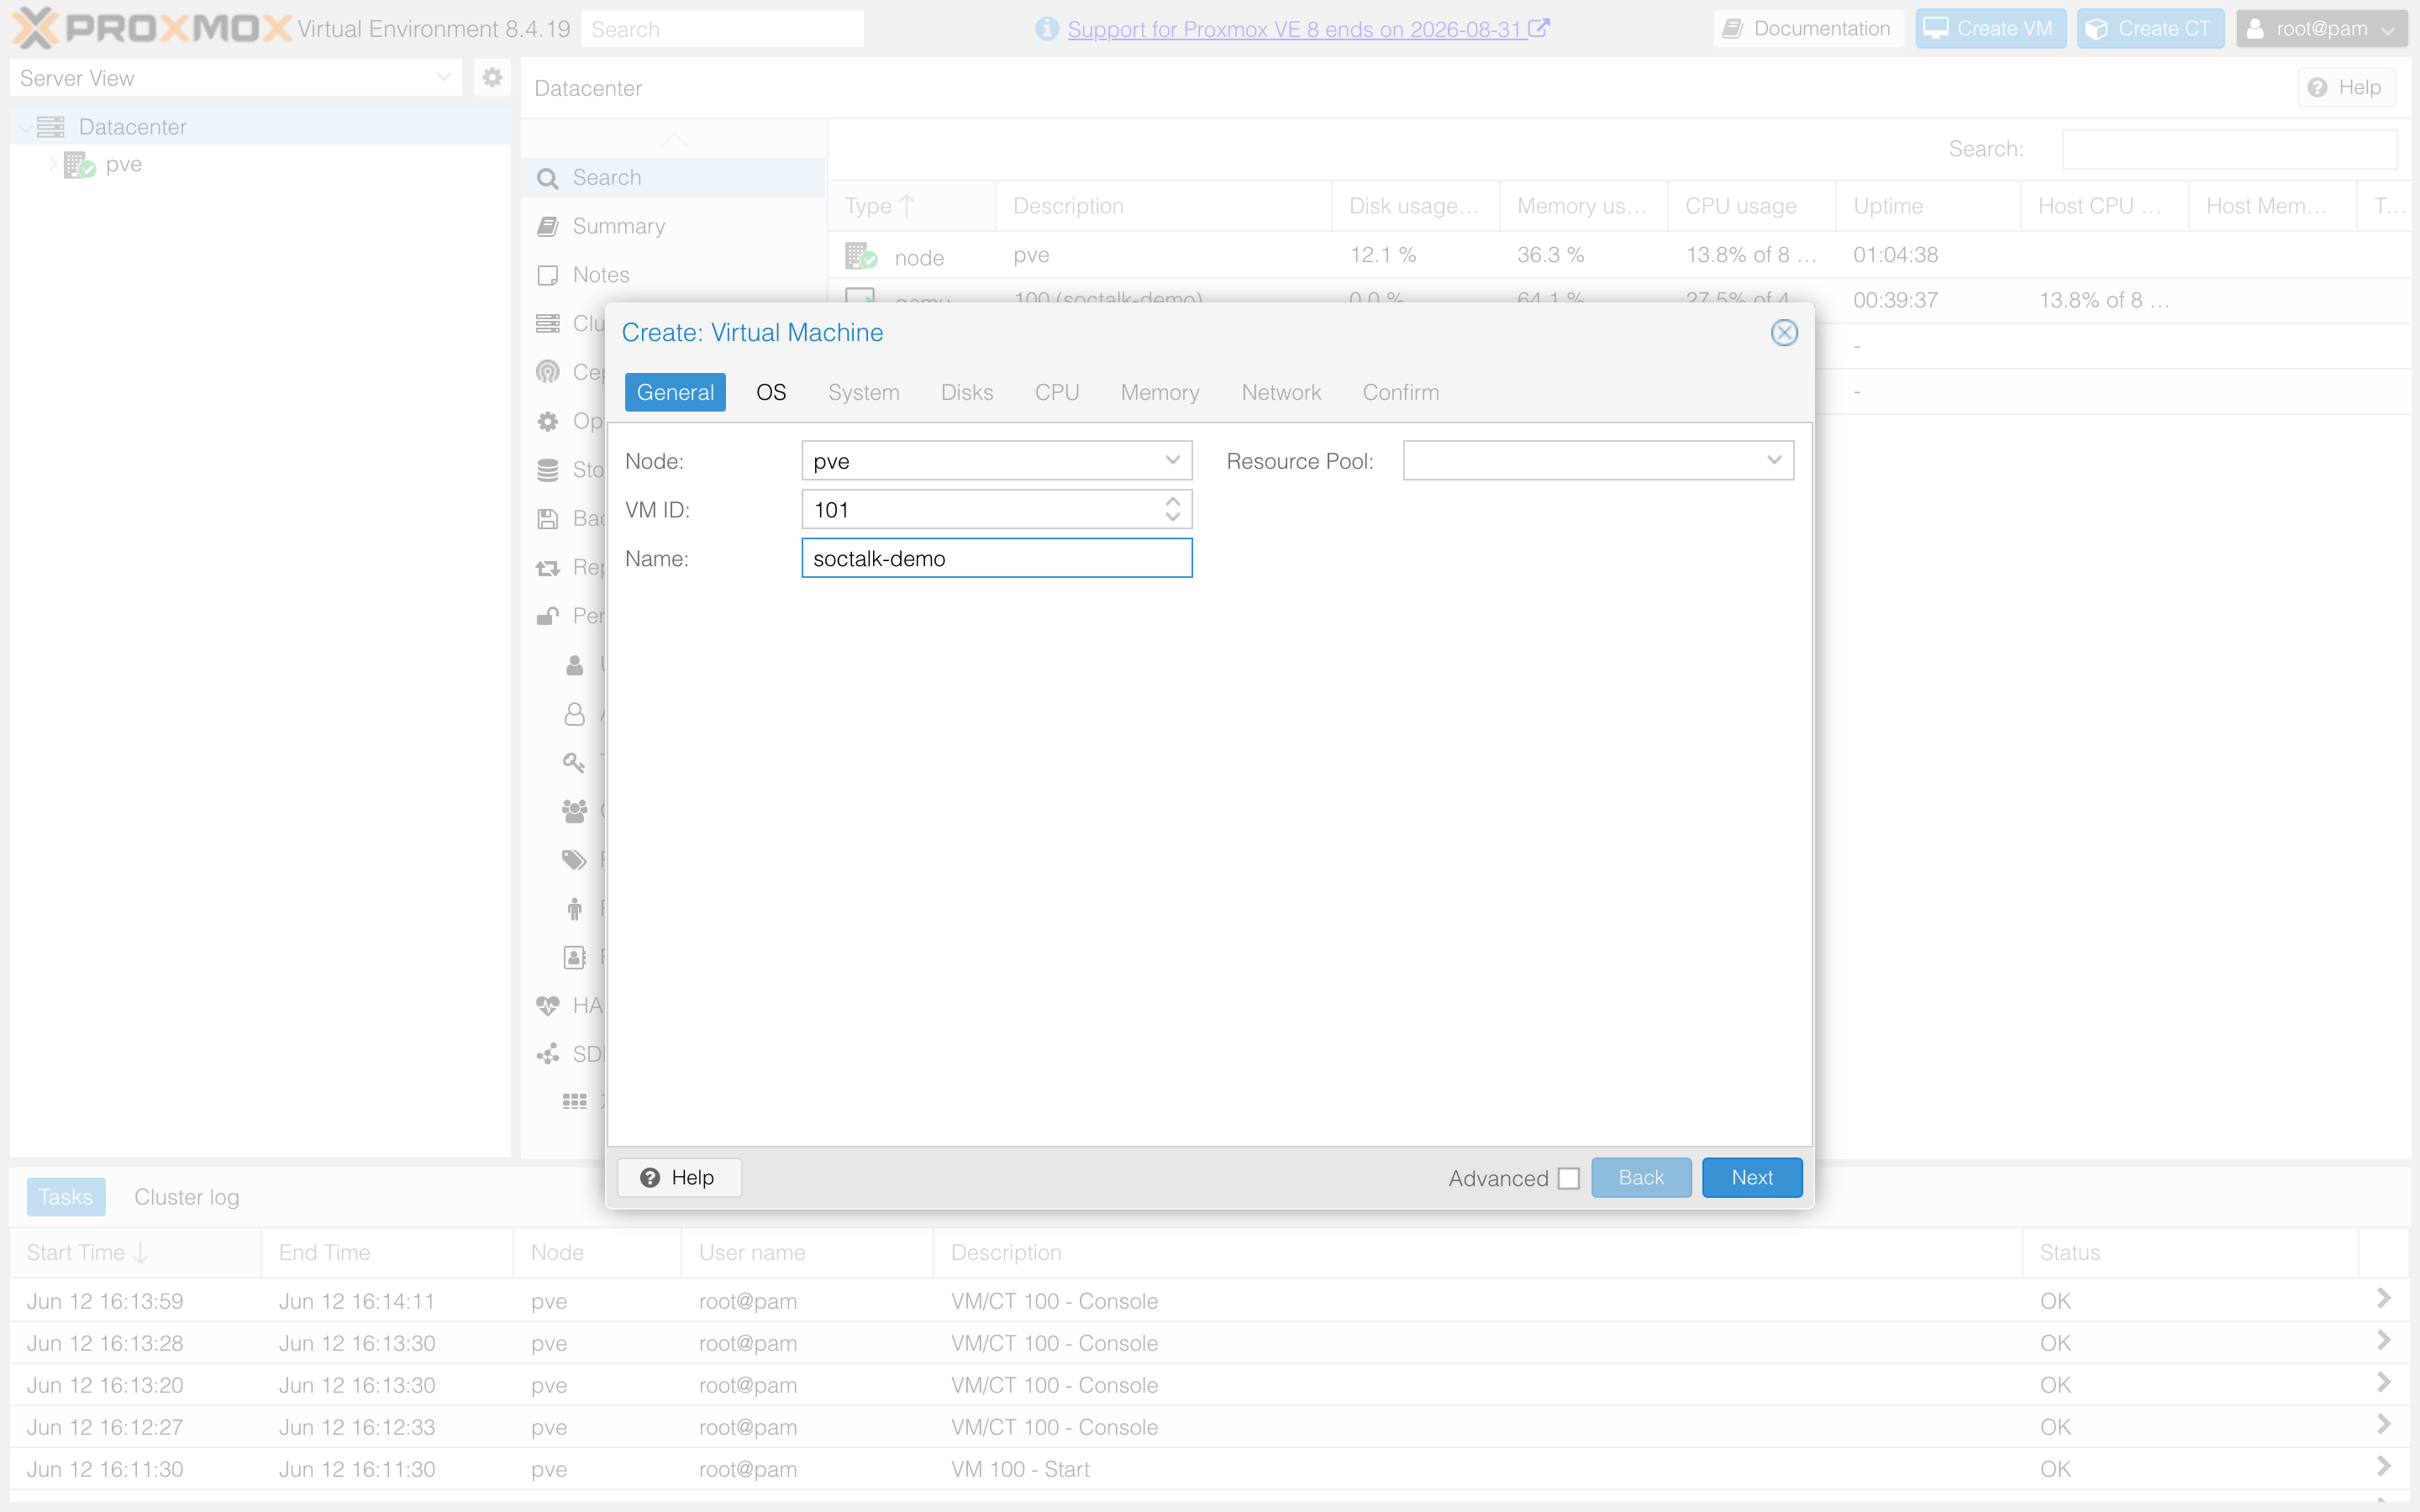
General: pick a VM ID and name:
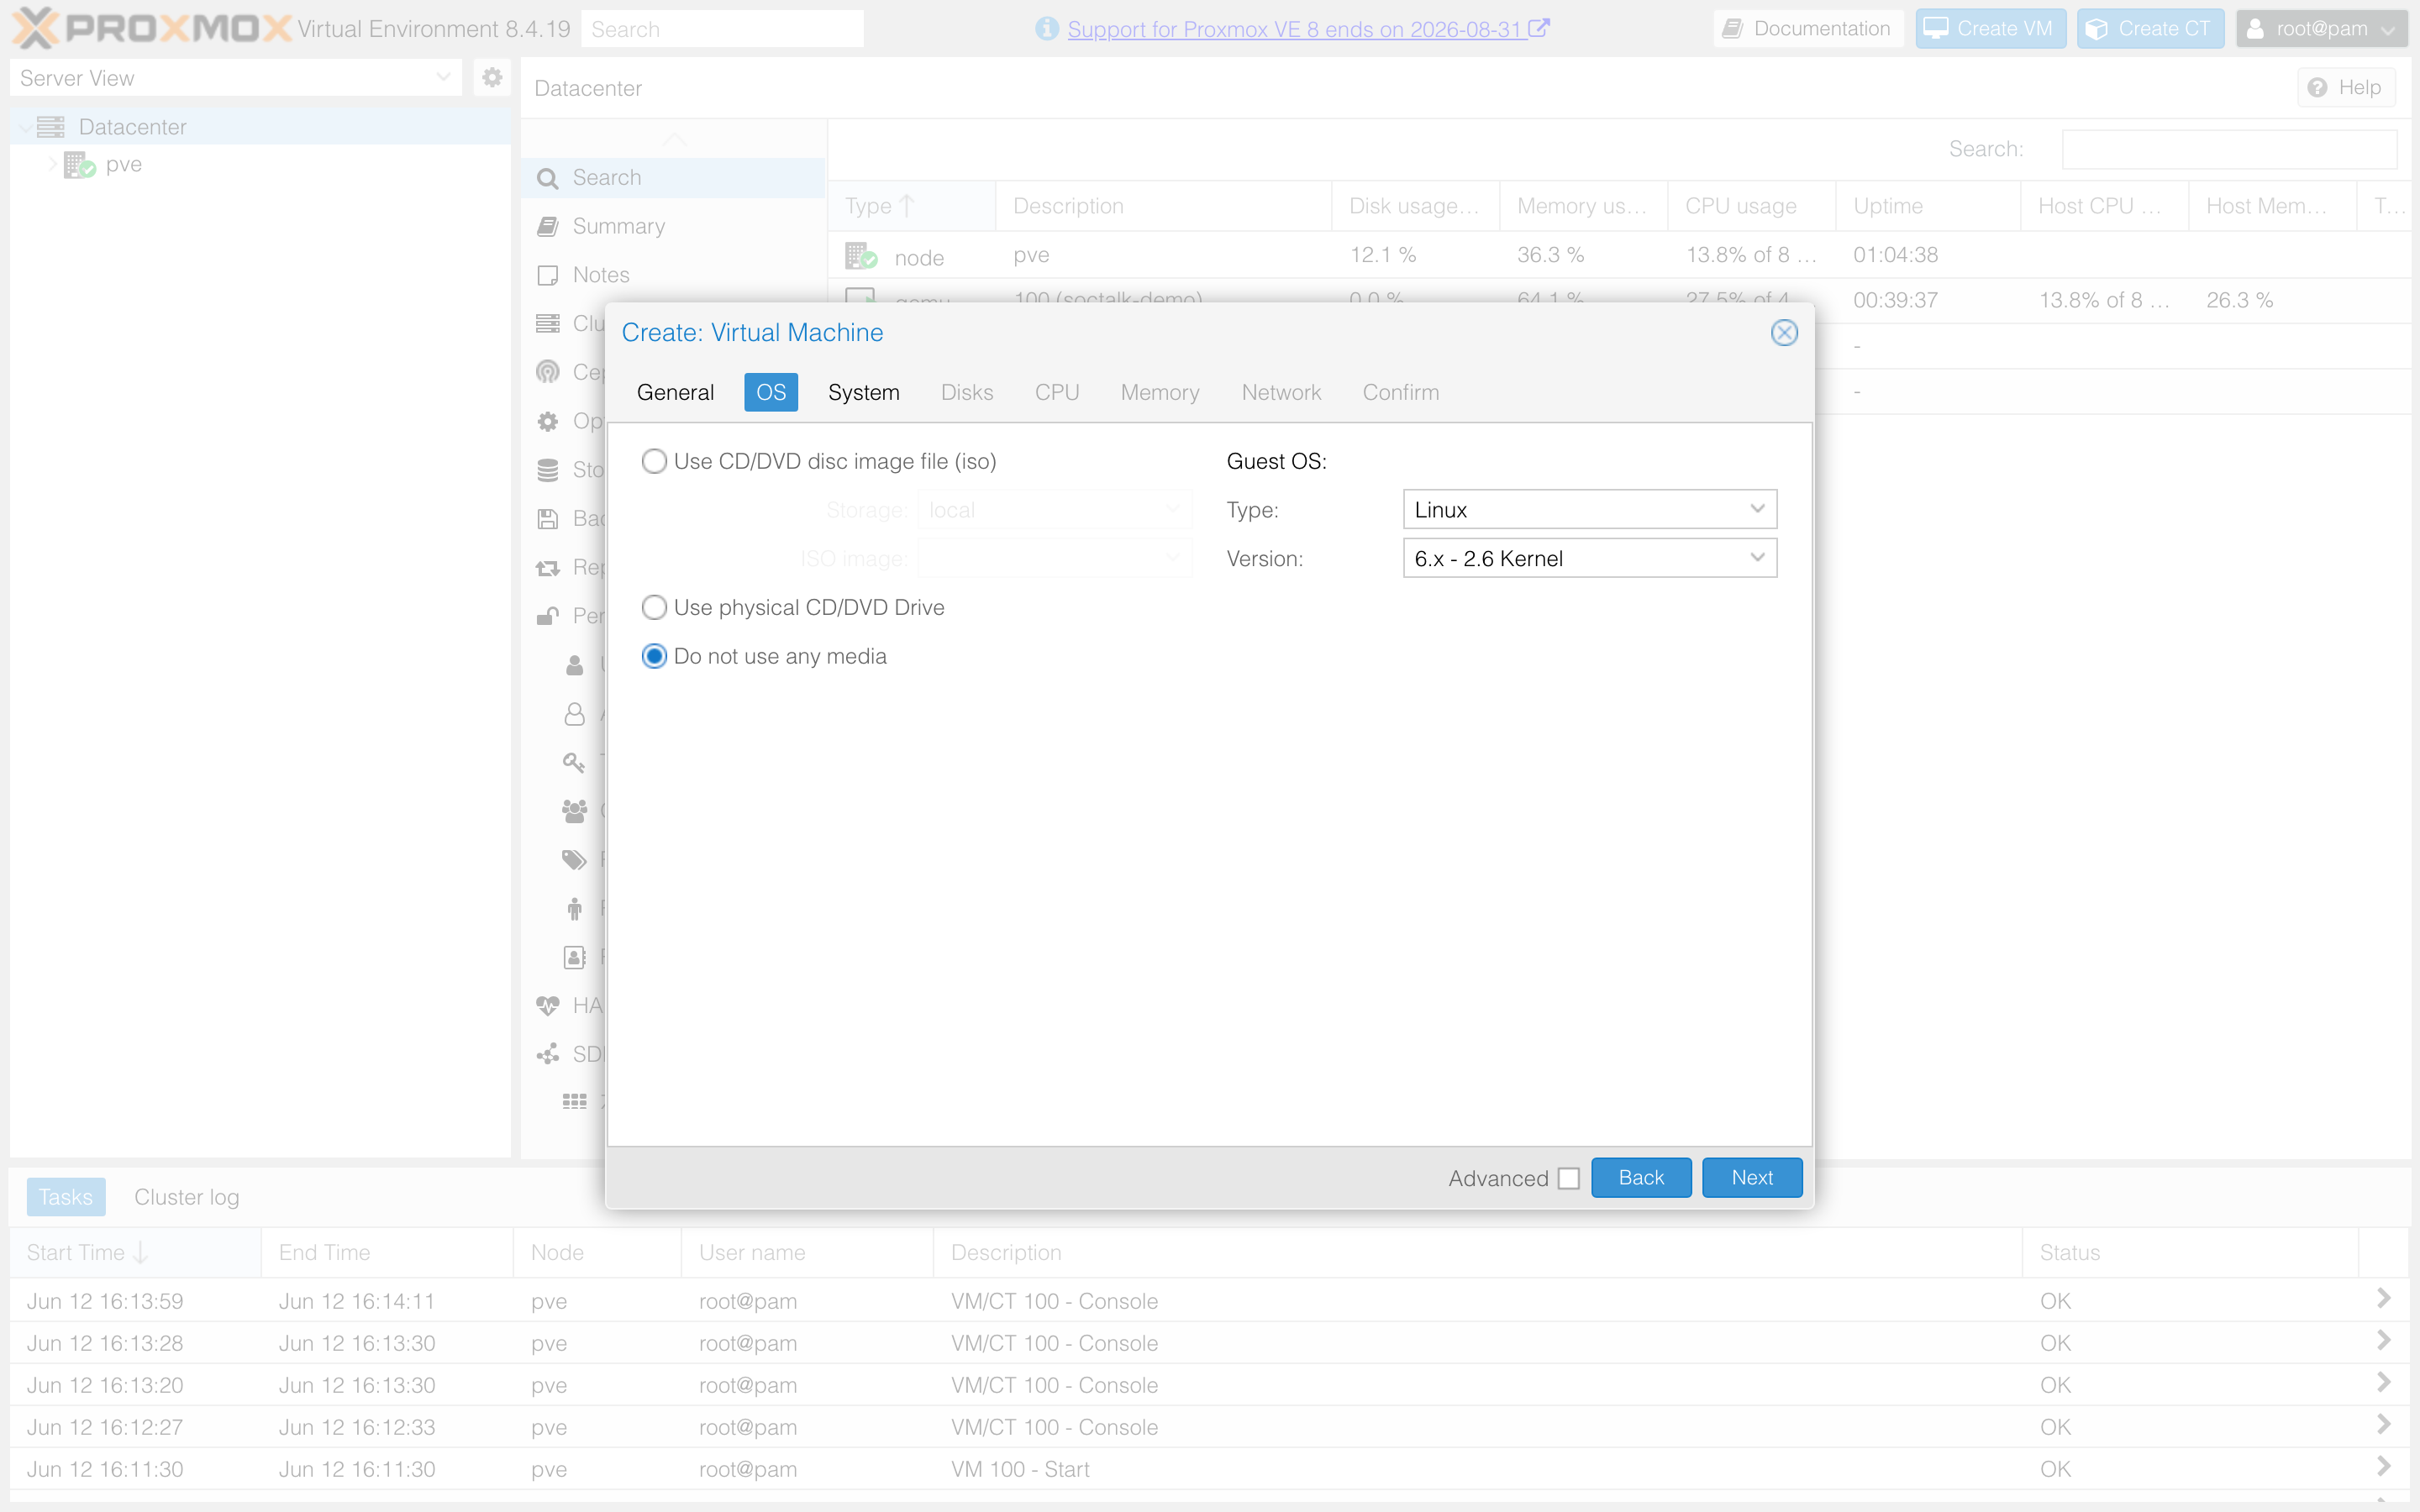
OS: select Do not use any media (the OS is already on the imported disk):
System: keep the defaults (SeaBIOS, i440fx, the image boots via BIOS firmware).
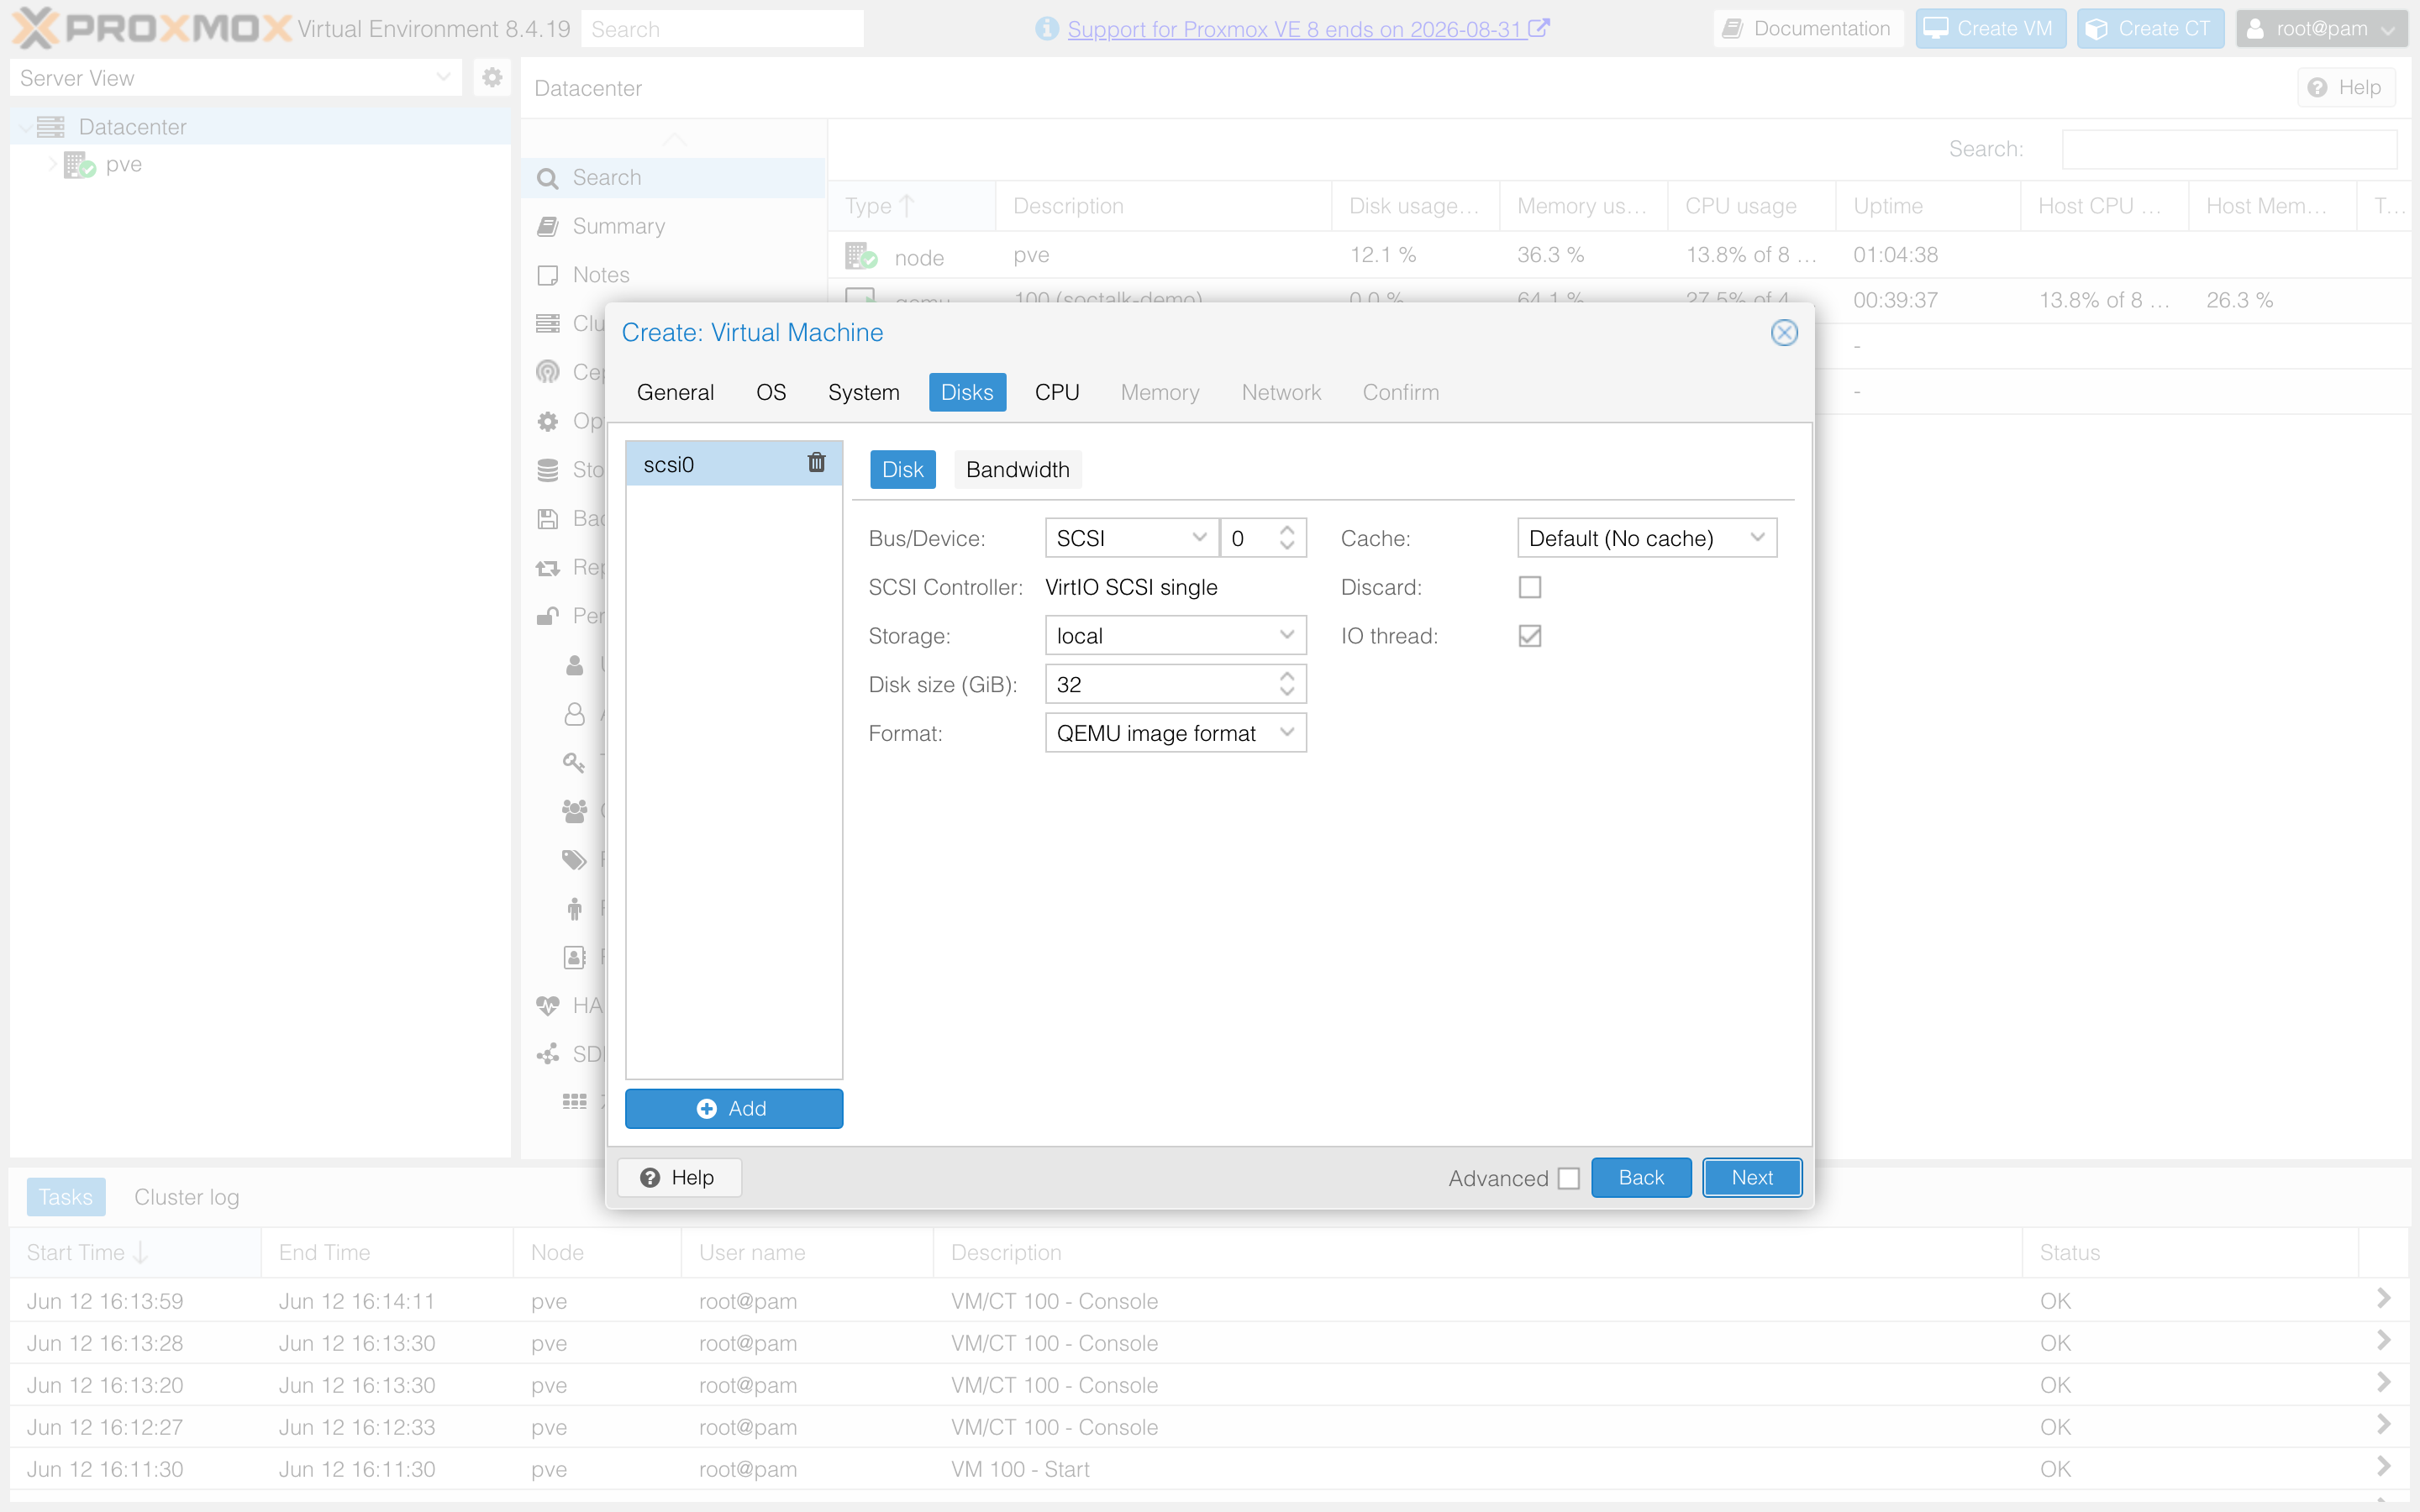
Disks: delete the default disk with the trash icon next to scsi0; the imported qcow2 replaces it:
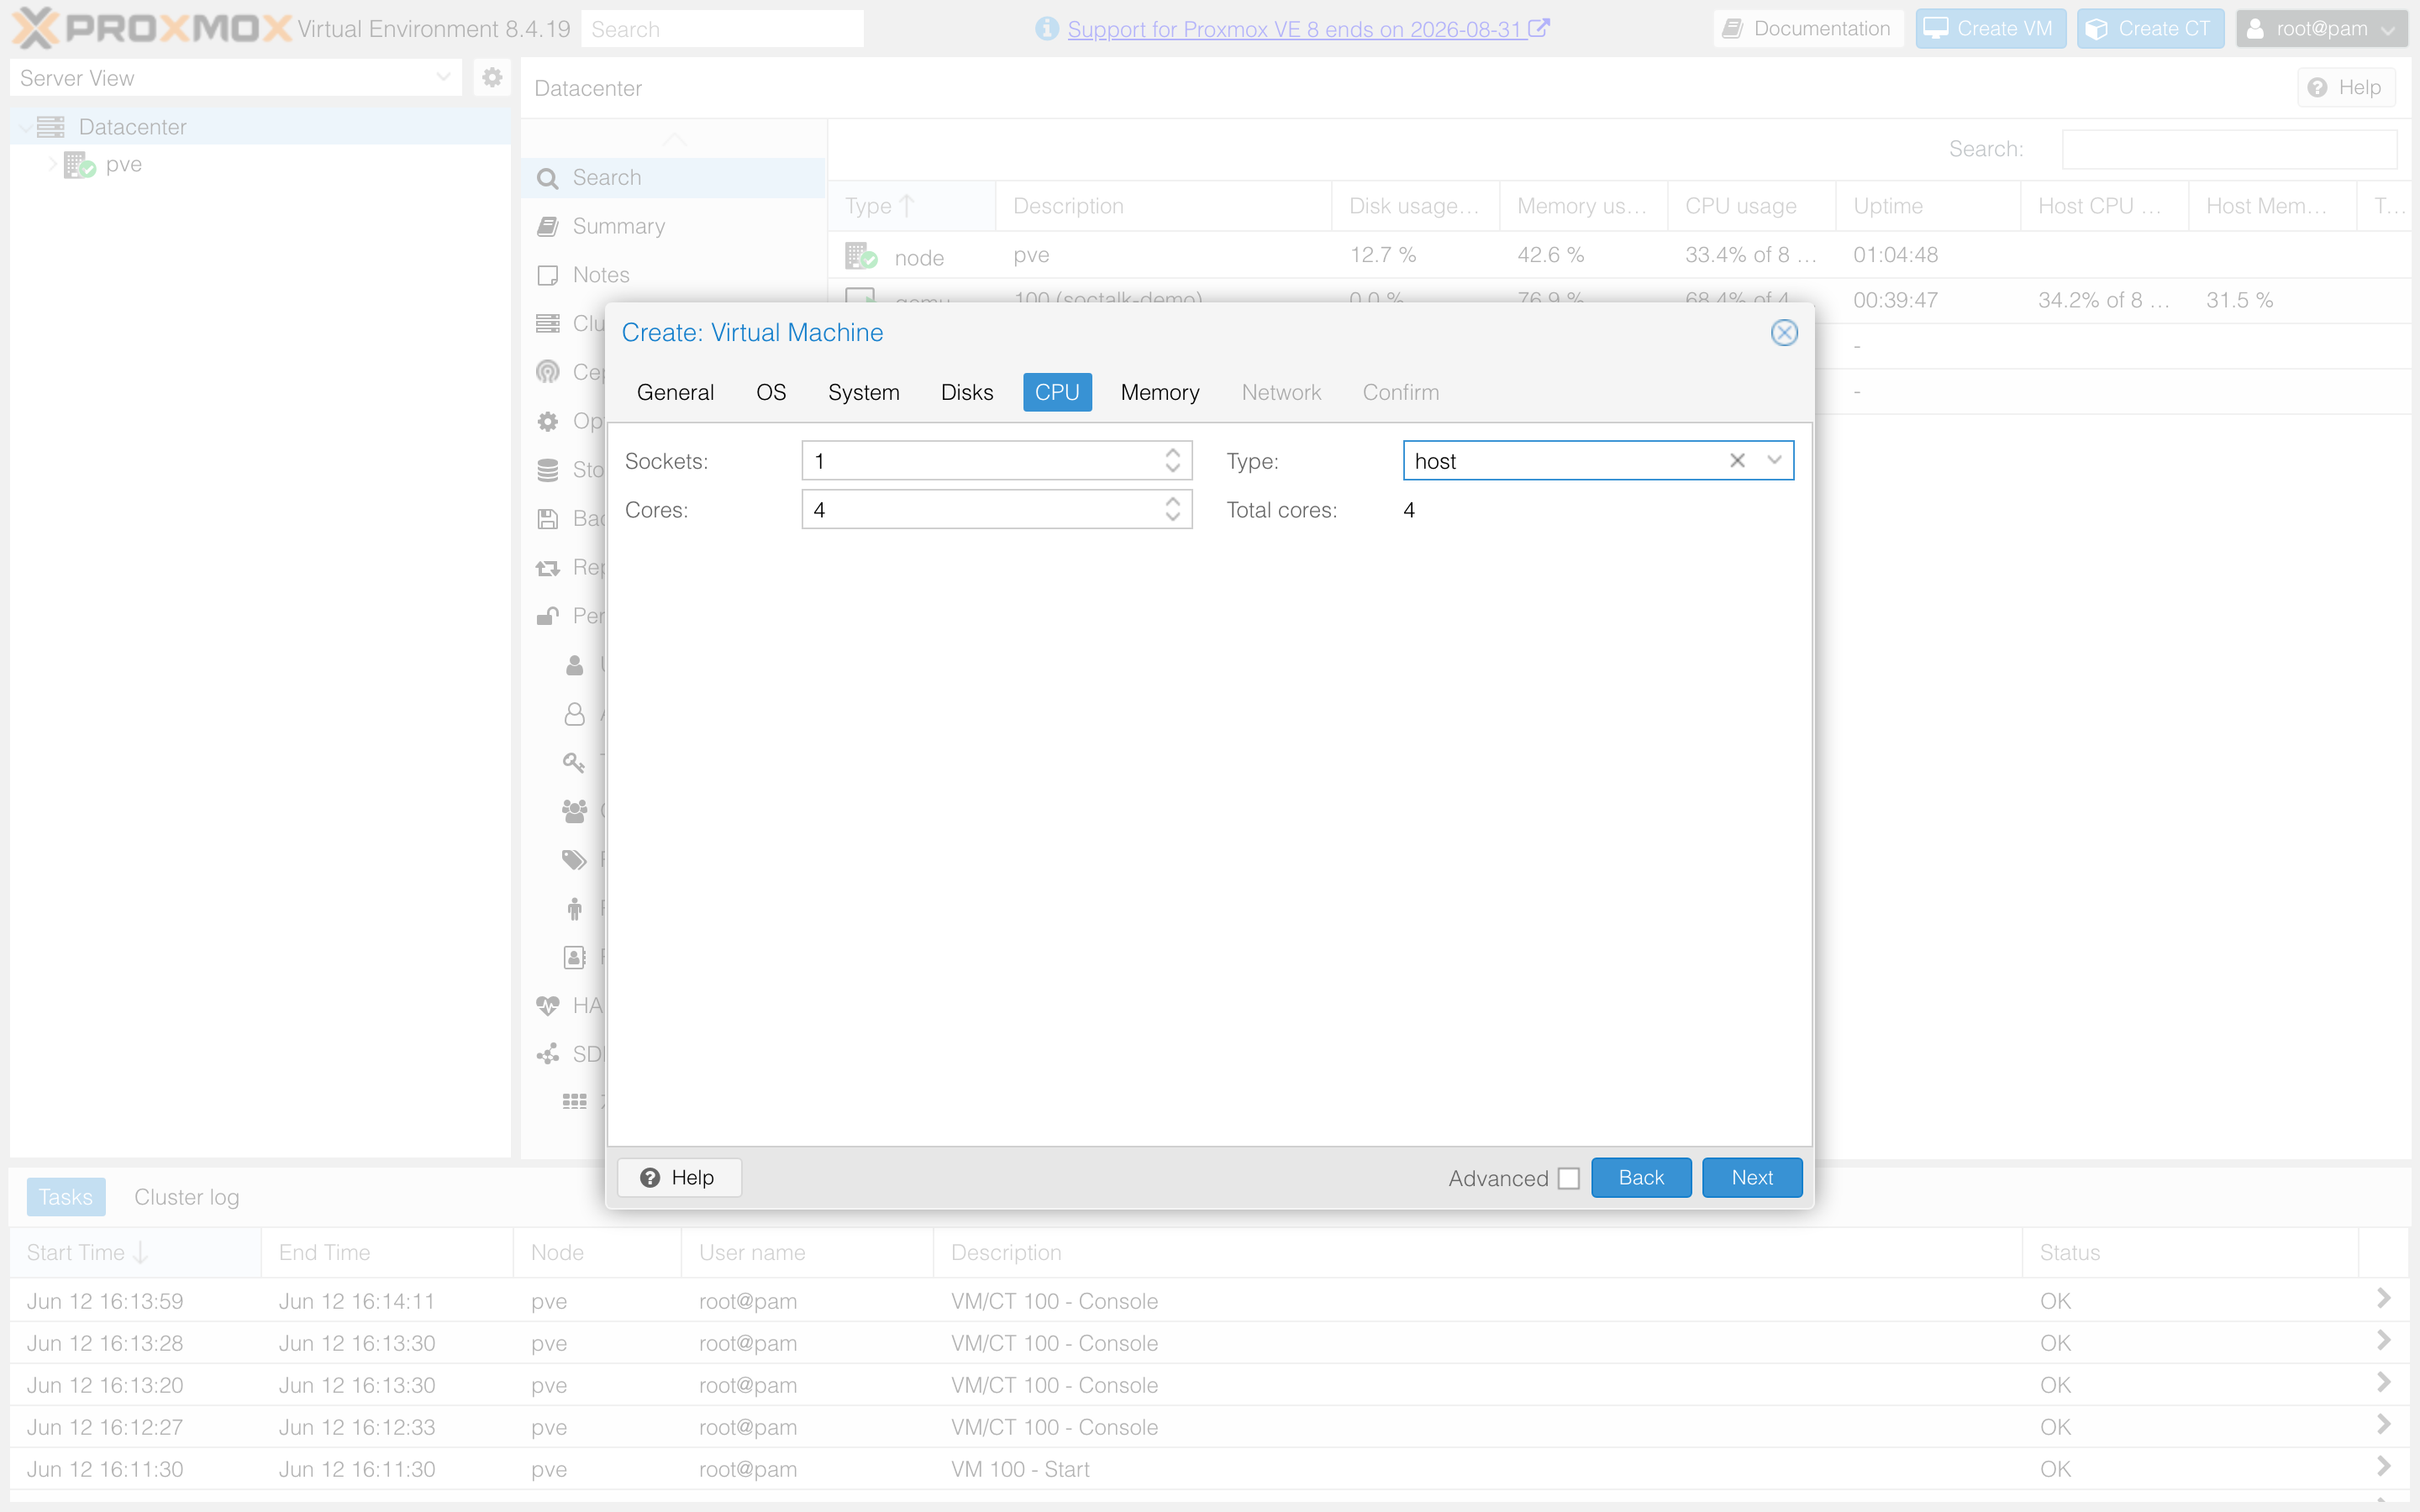
CPU: 4 cores, and set Type to host:
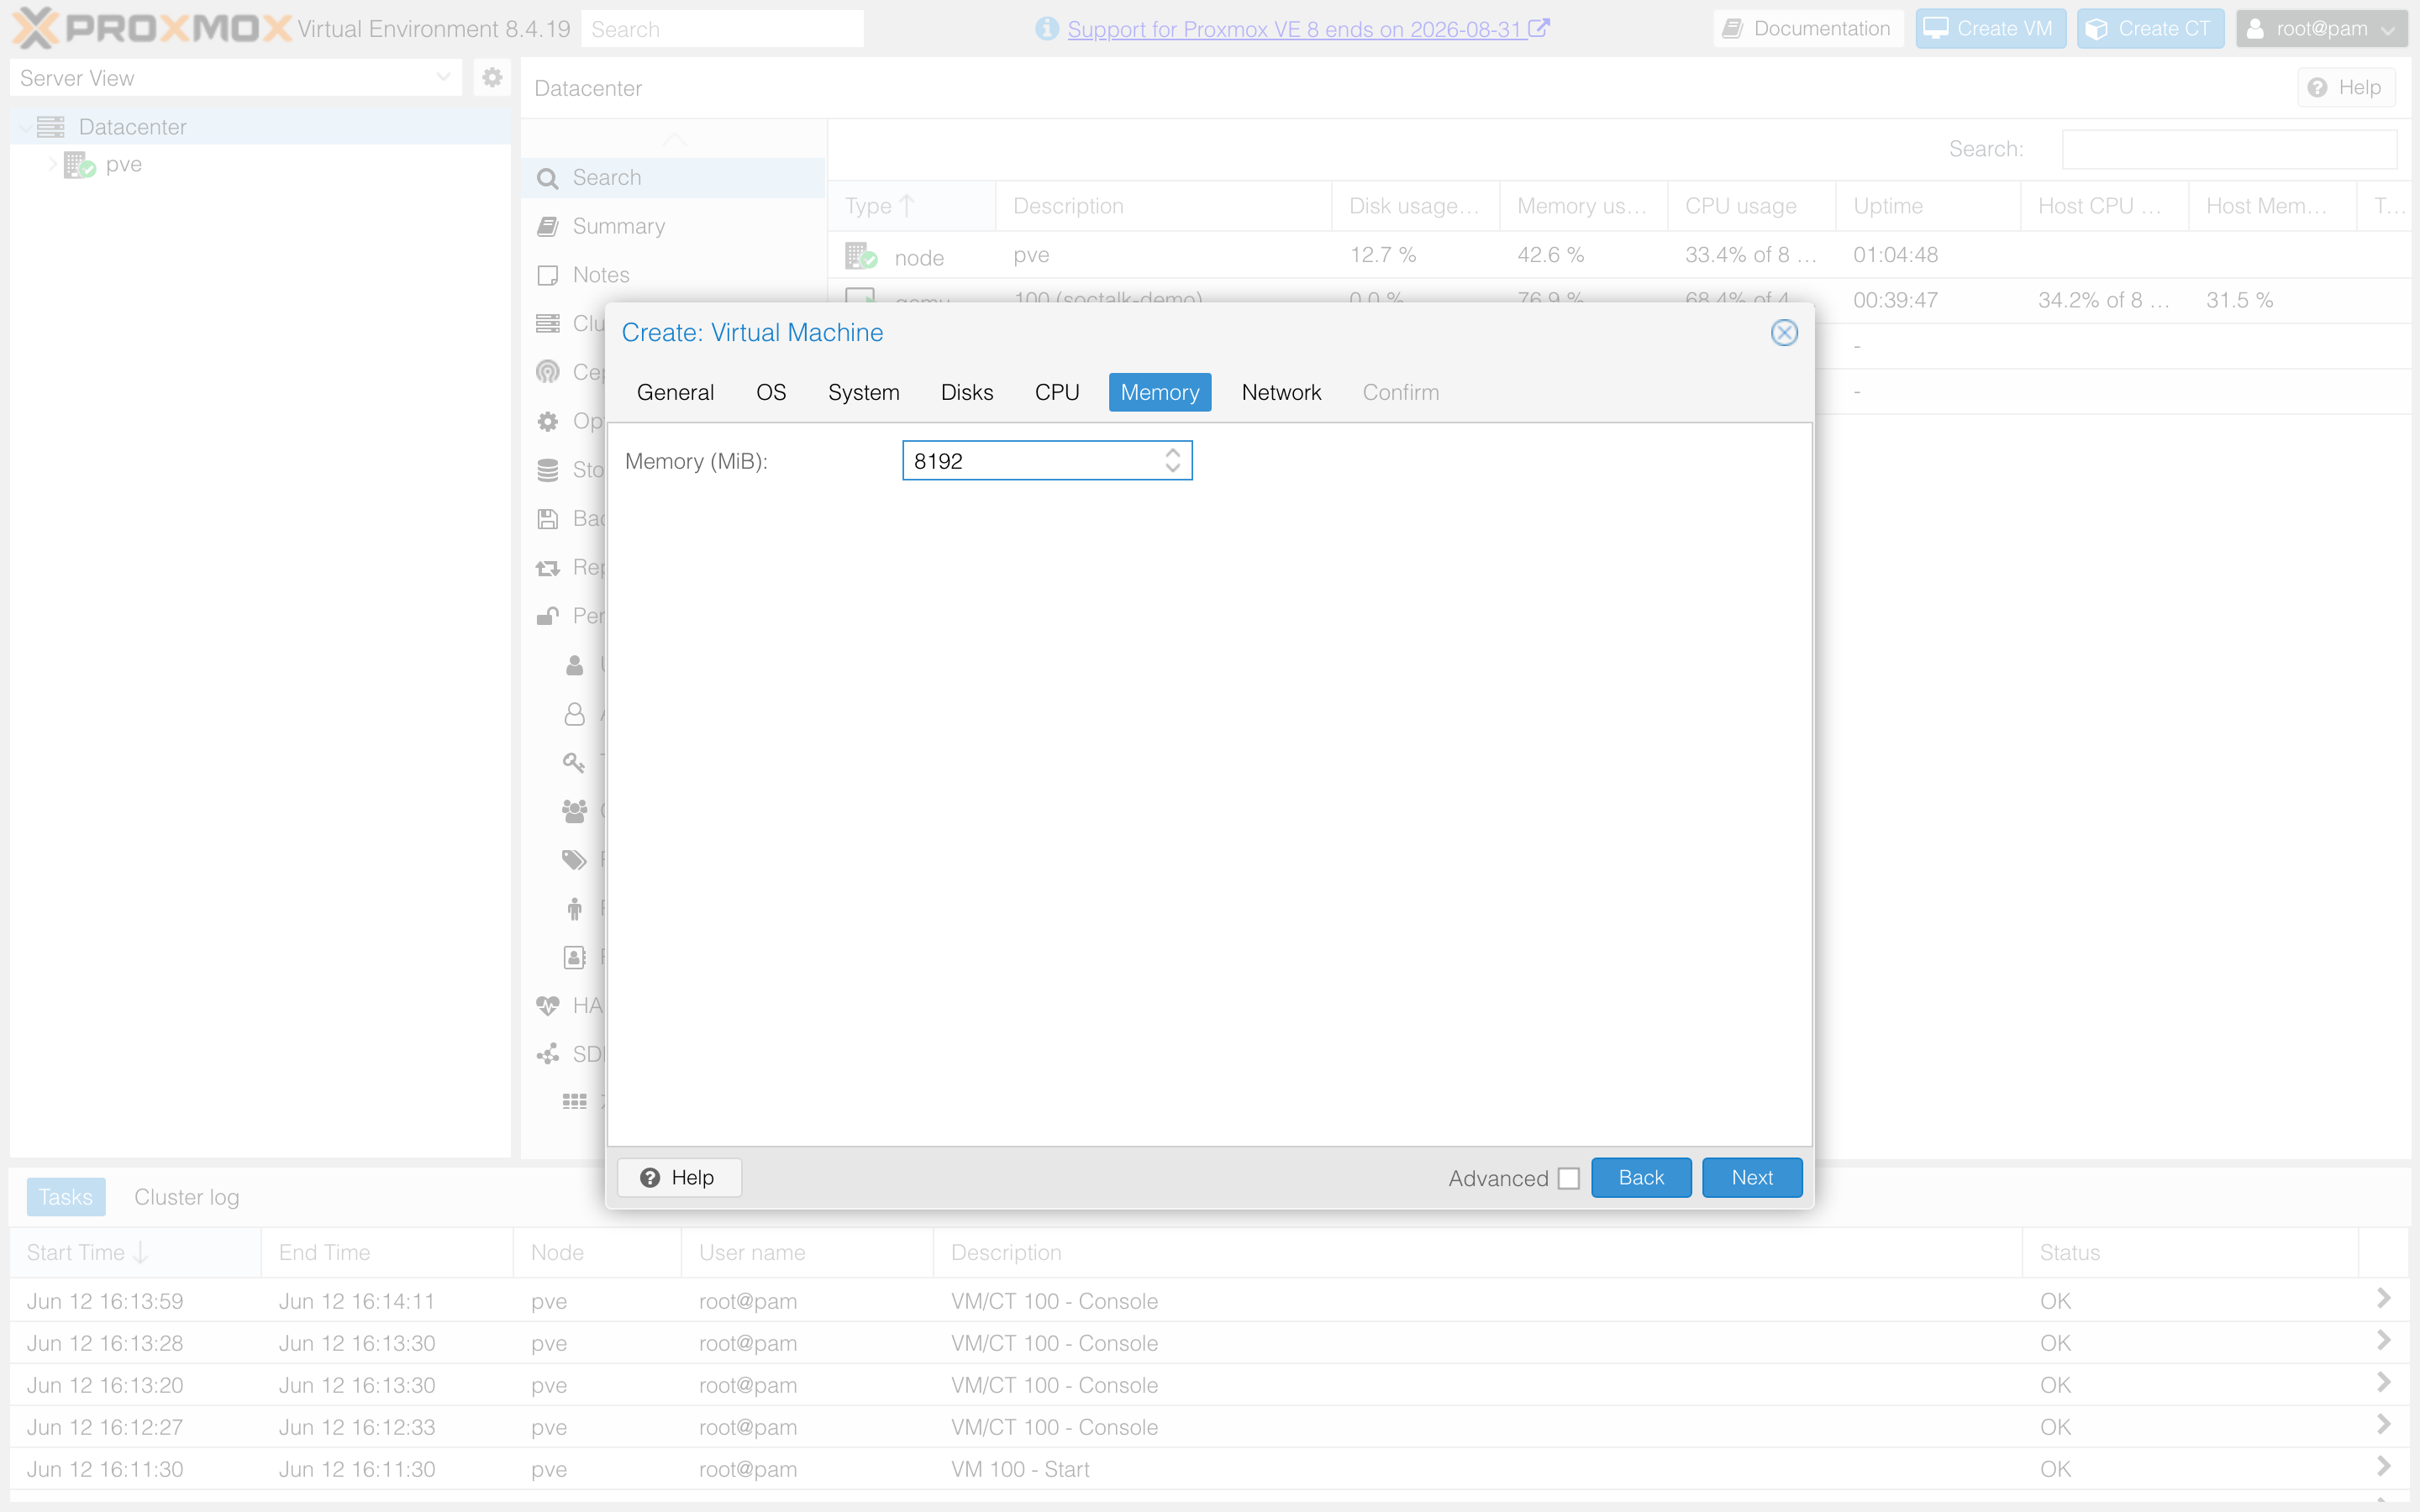
Memory: 8192 MiB:
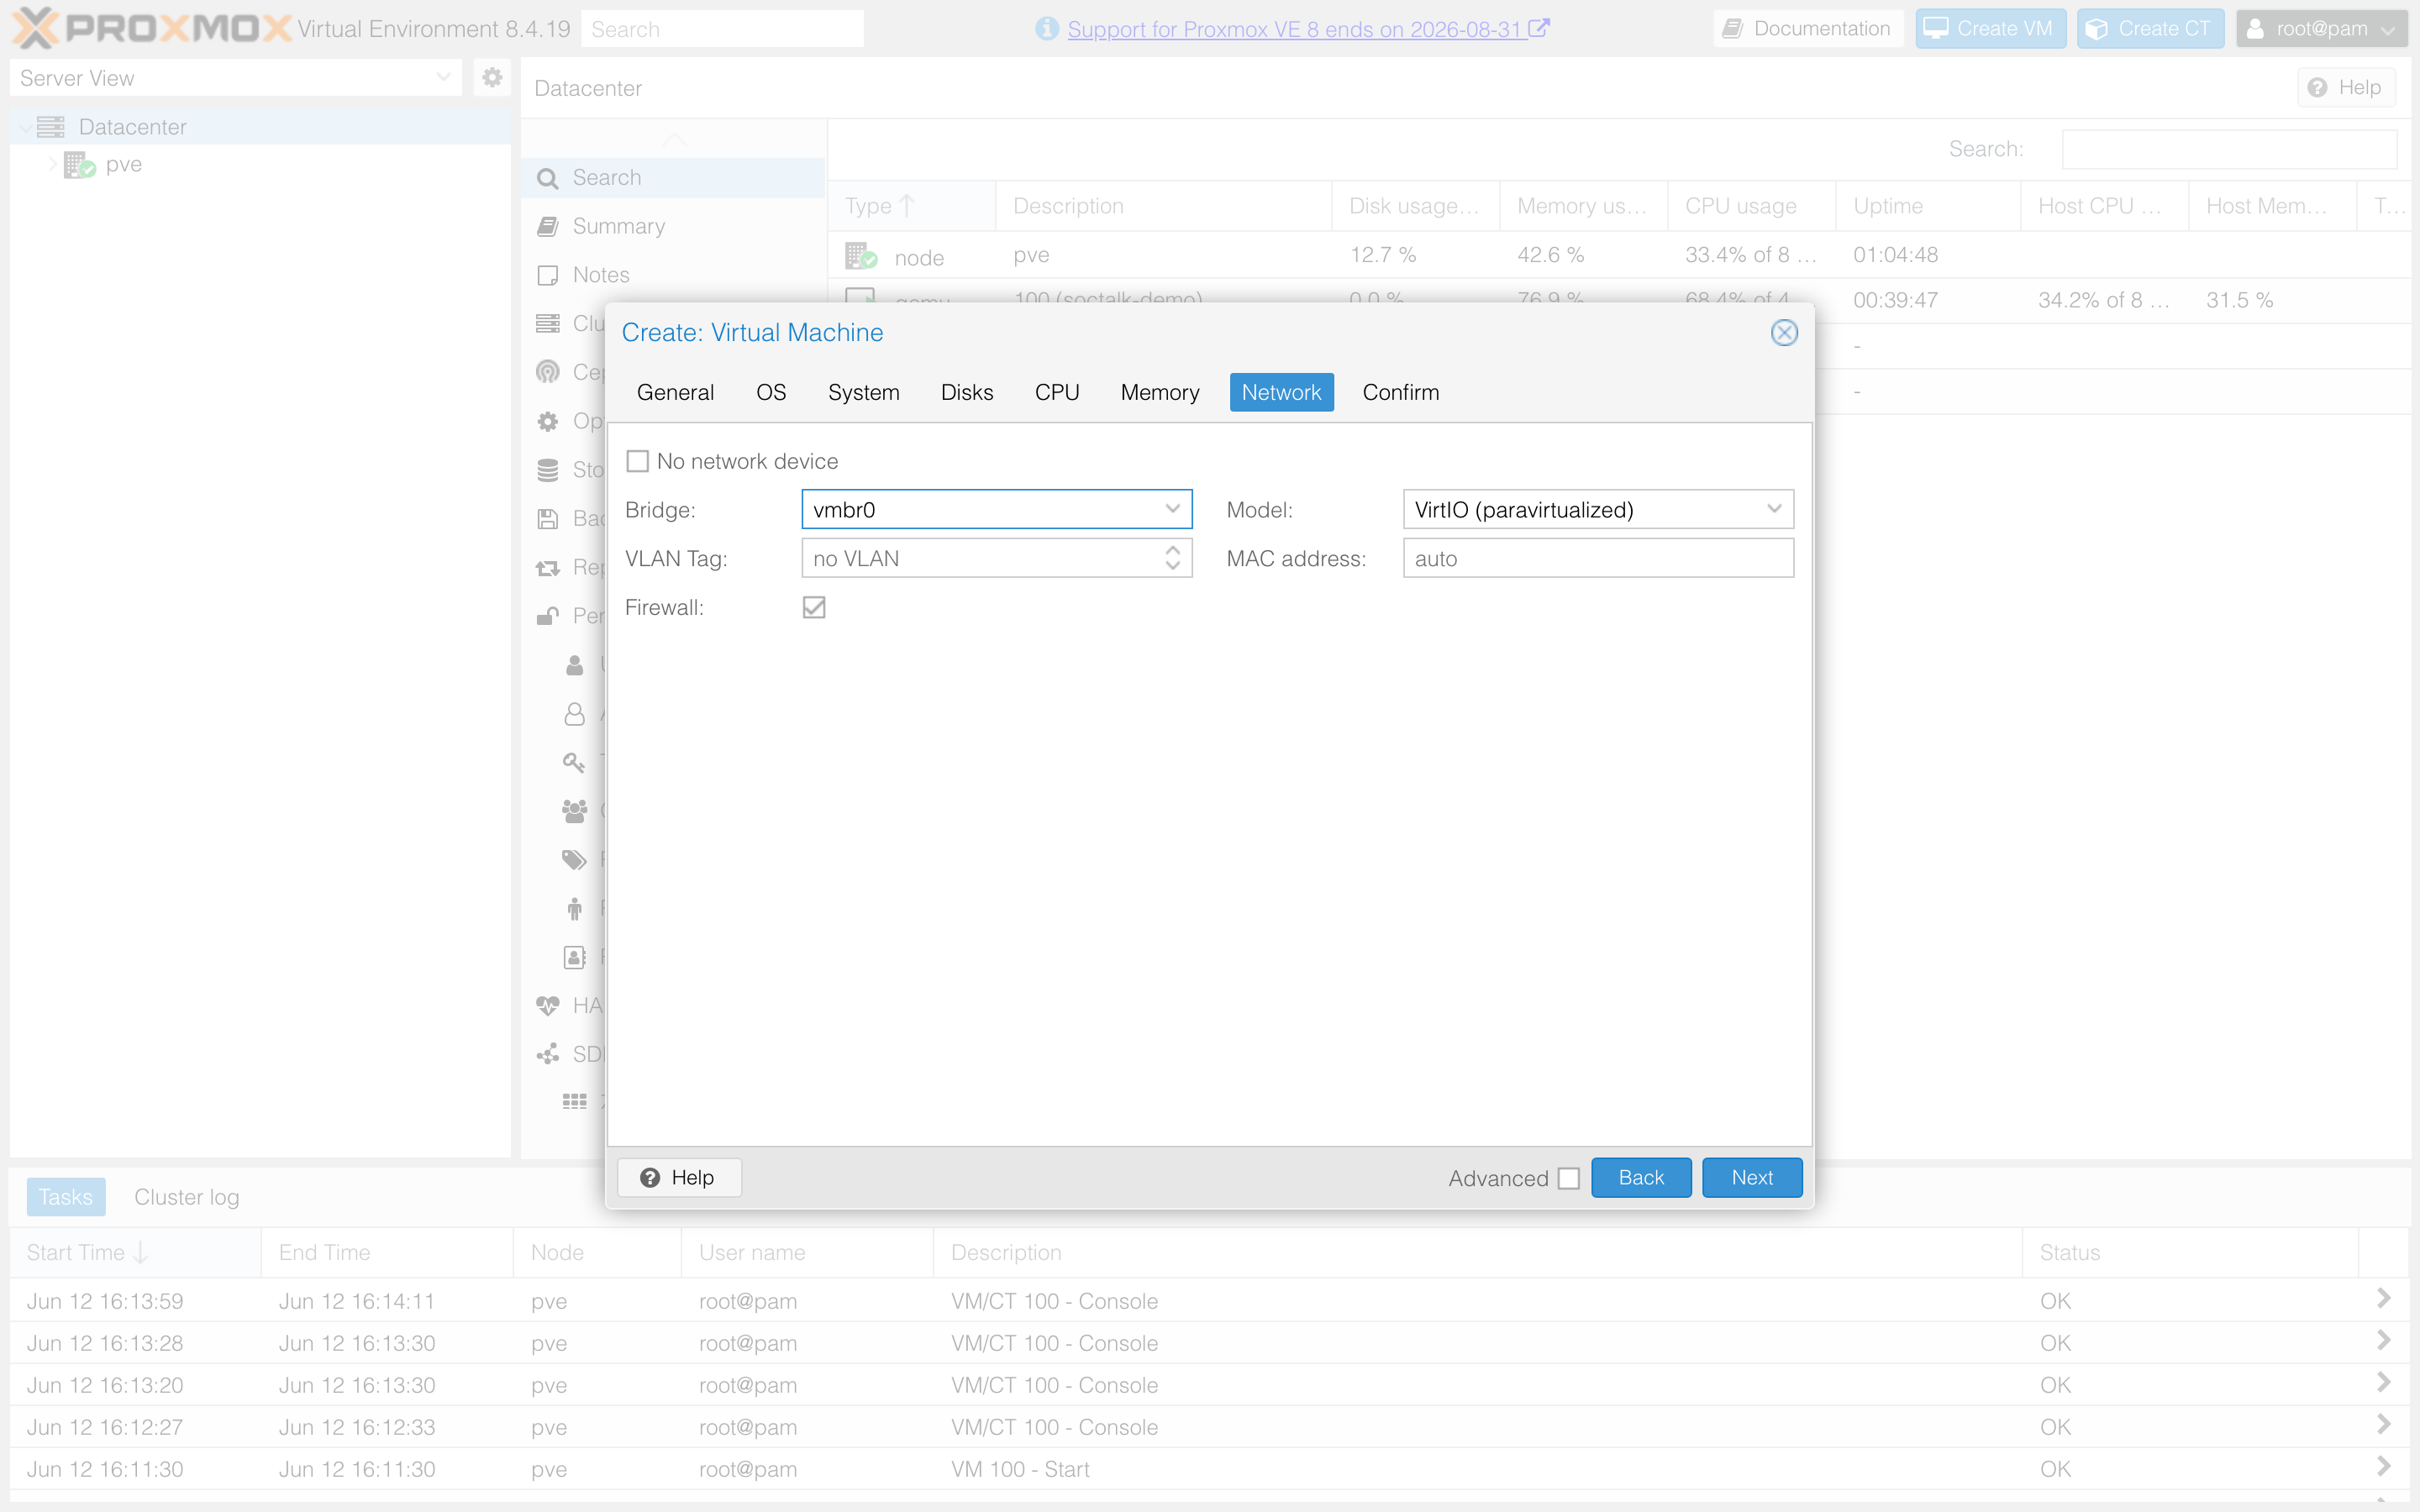
Network: your LAN bridge (typically vmbr0), VirtIO model:
Confirm: Finish. Don't start the VM yet.
4. Import the disk
The one CLI step. On the node (adjust the VM ID and target storage):
qm disk import 100 soctalk-demo-<ver>.qcow2 local --format qcow2On LVM-thin storage (local-lvm) drop the --format flag, blocks storages store raw. The import shows up on the VM as Unused Disk 0.
5. Attach disk, seed ISO, and boot order
Back in the UI, open the VM's Hardware panel:
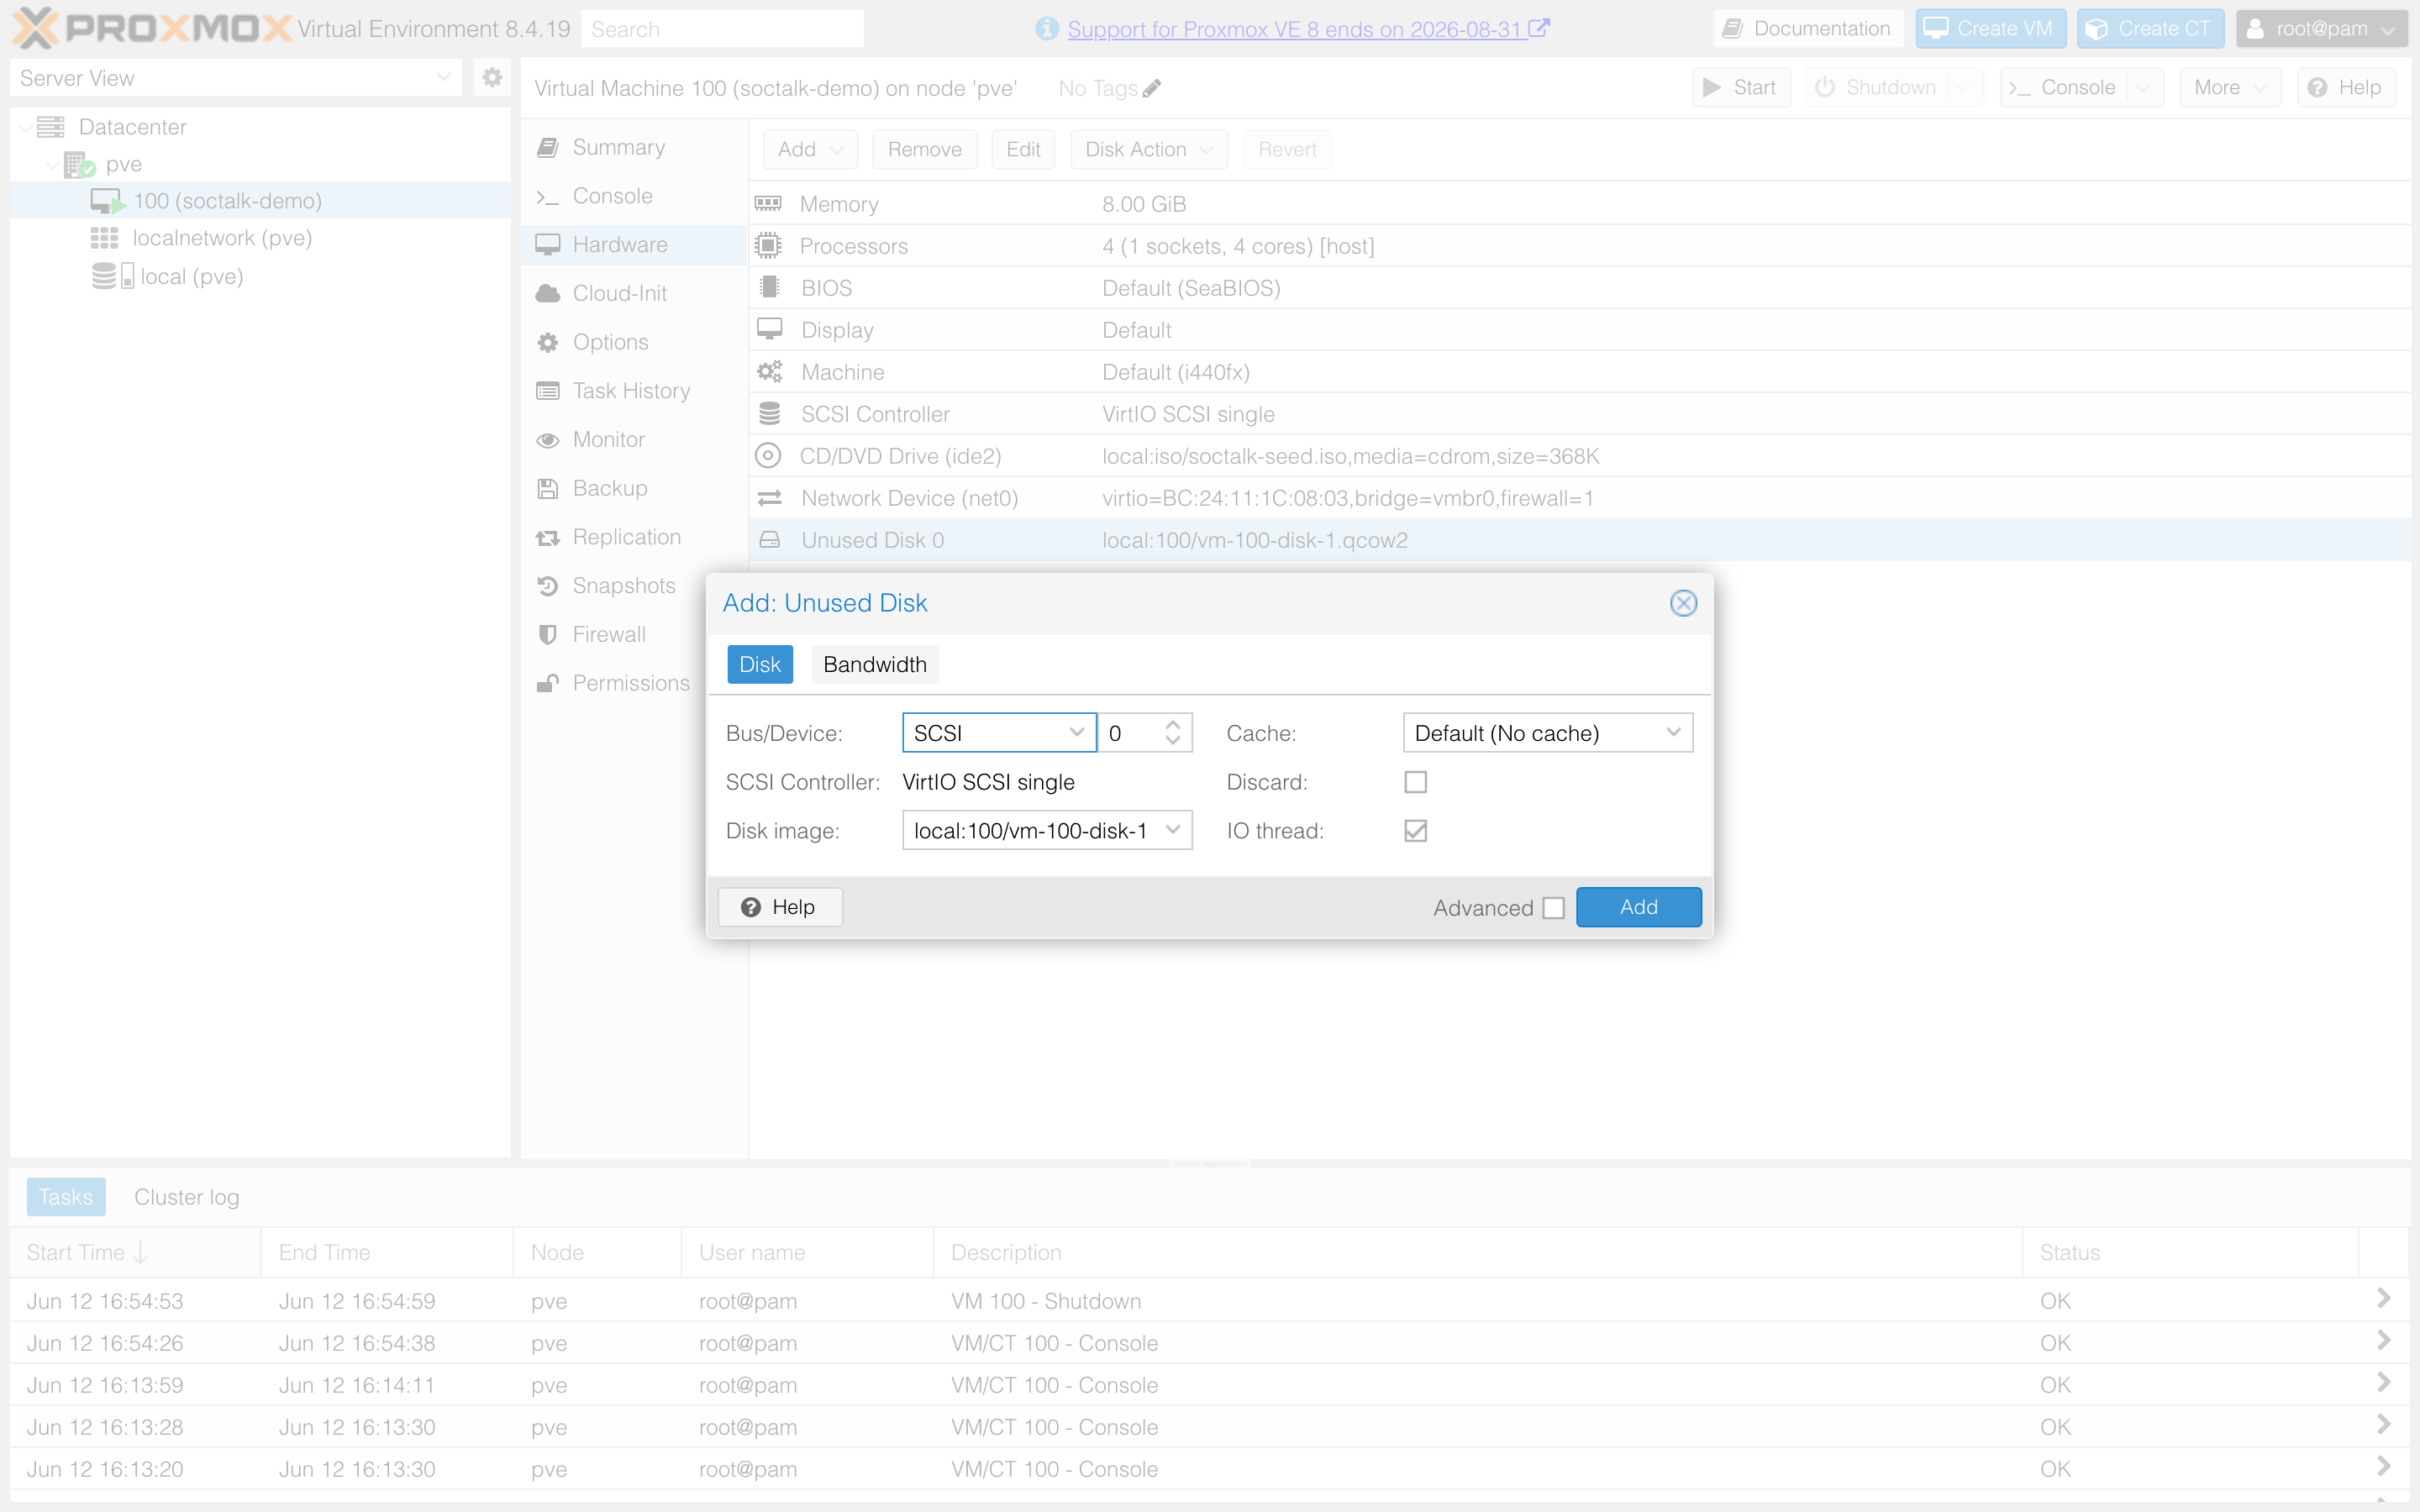
- Double-click Unused Disk 0 → leave Bus/Device at
SCSI 0→ Add:
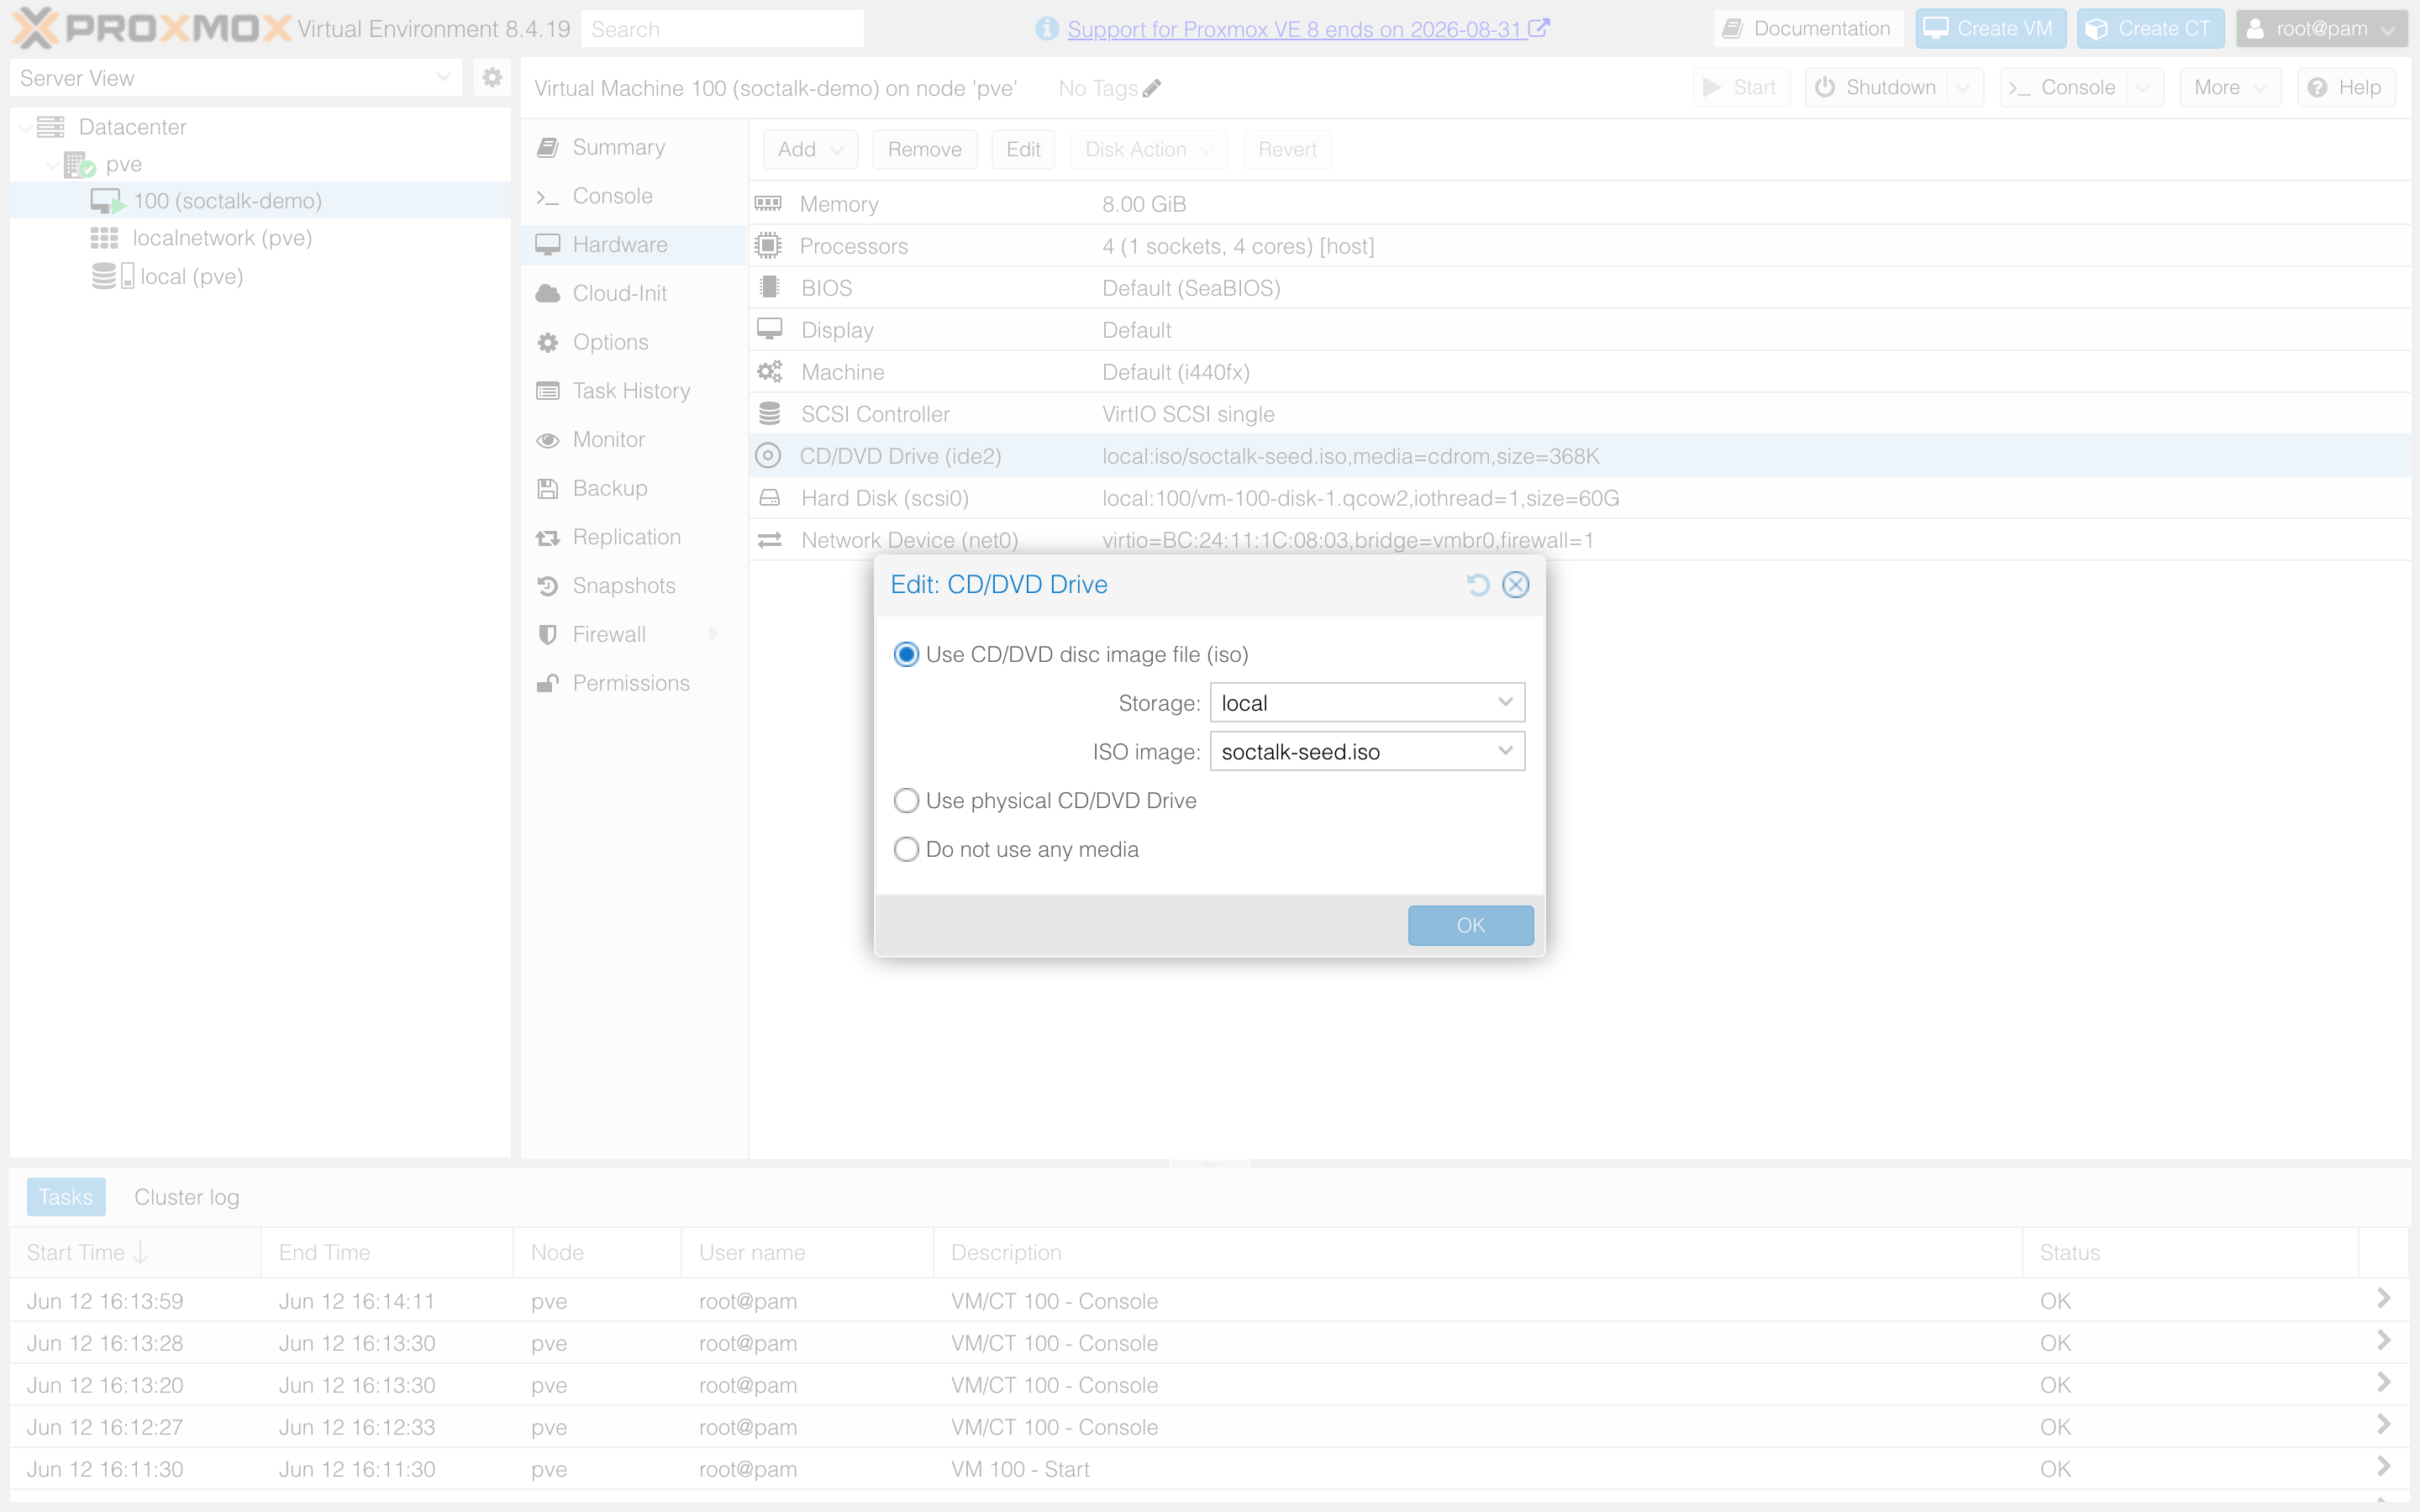
- Double-click CD/DVD Drive (ide2) → Use CD/DVD disc image file → storage
local, ISOsoctalk-seed.iso→ OK:
- Options → Boot Order → put
scsi0first (orqm set 100 --boot order=scsi0).
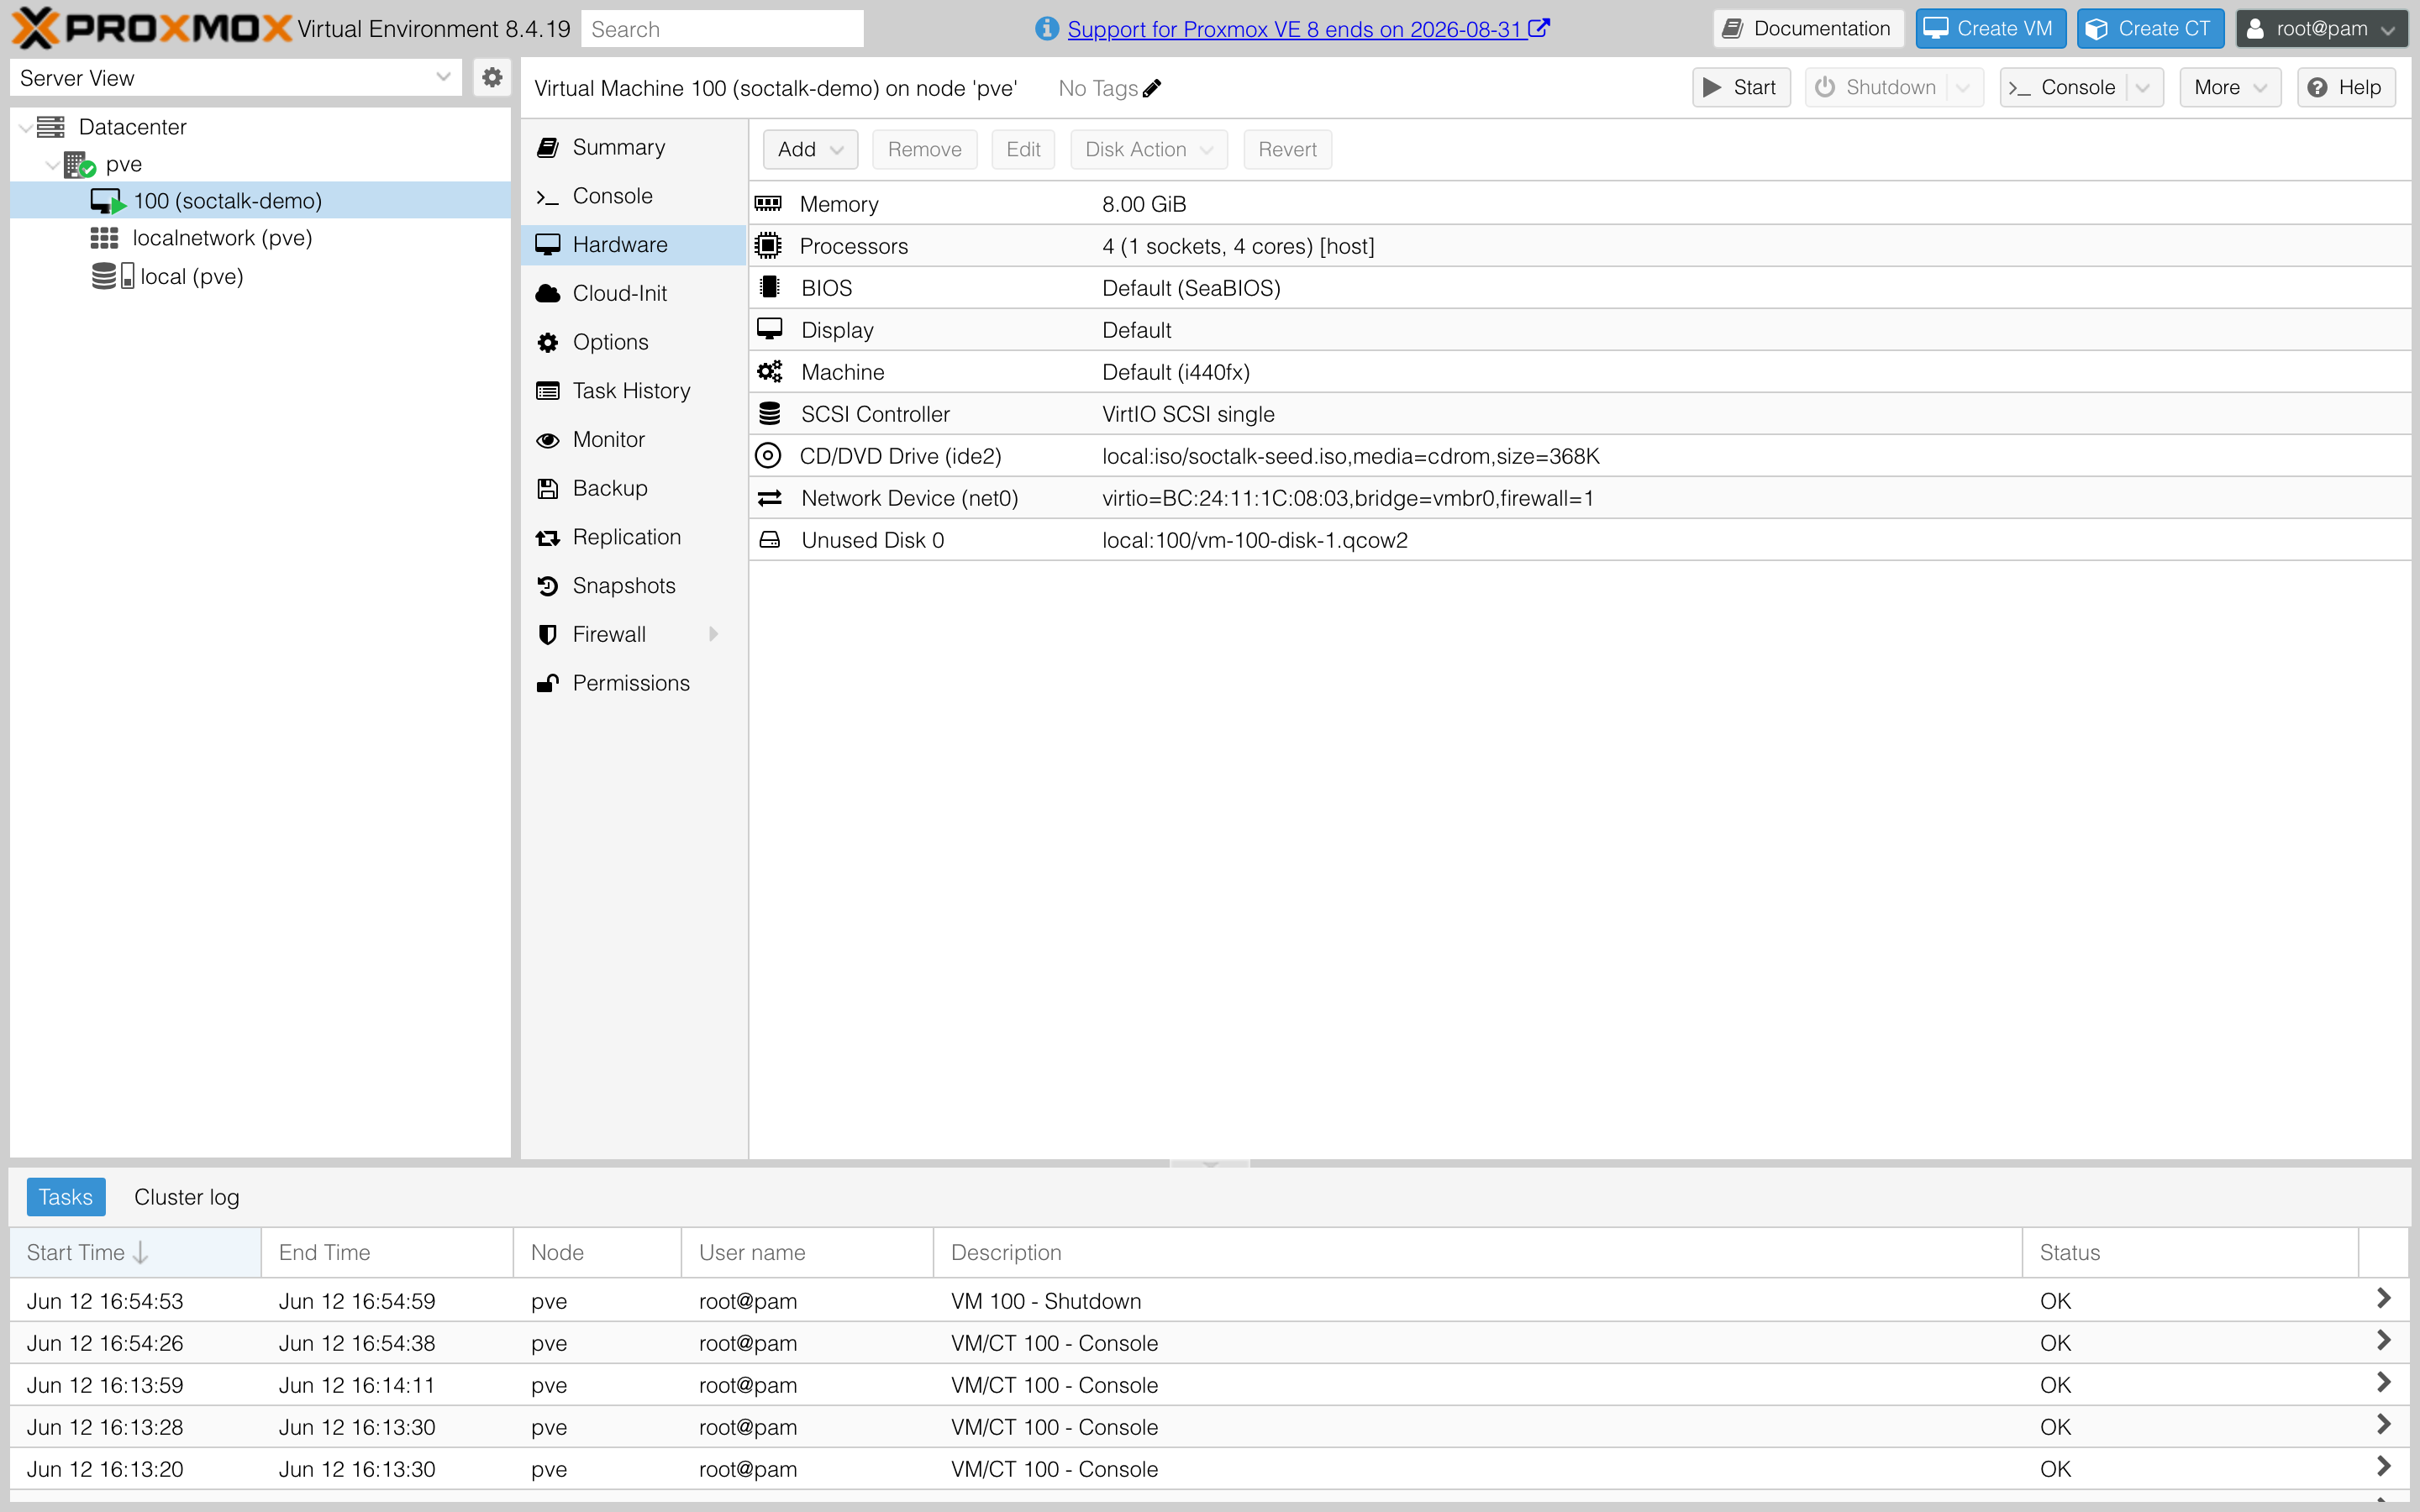
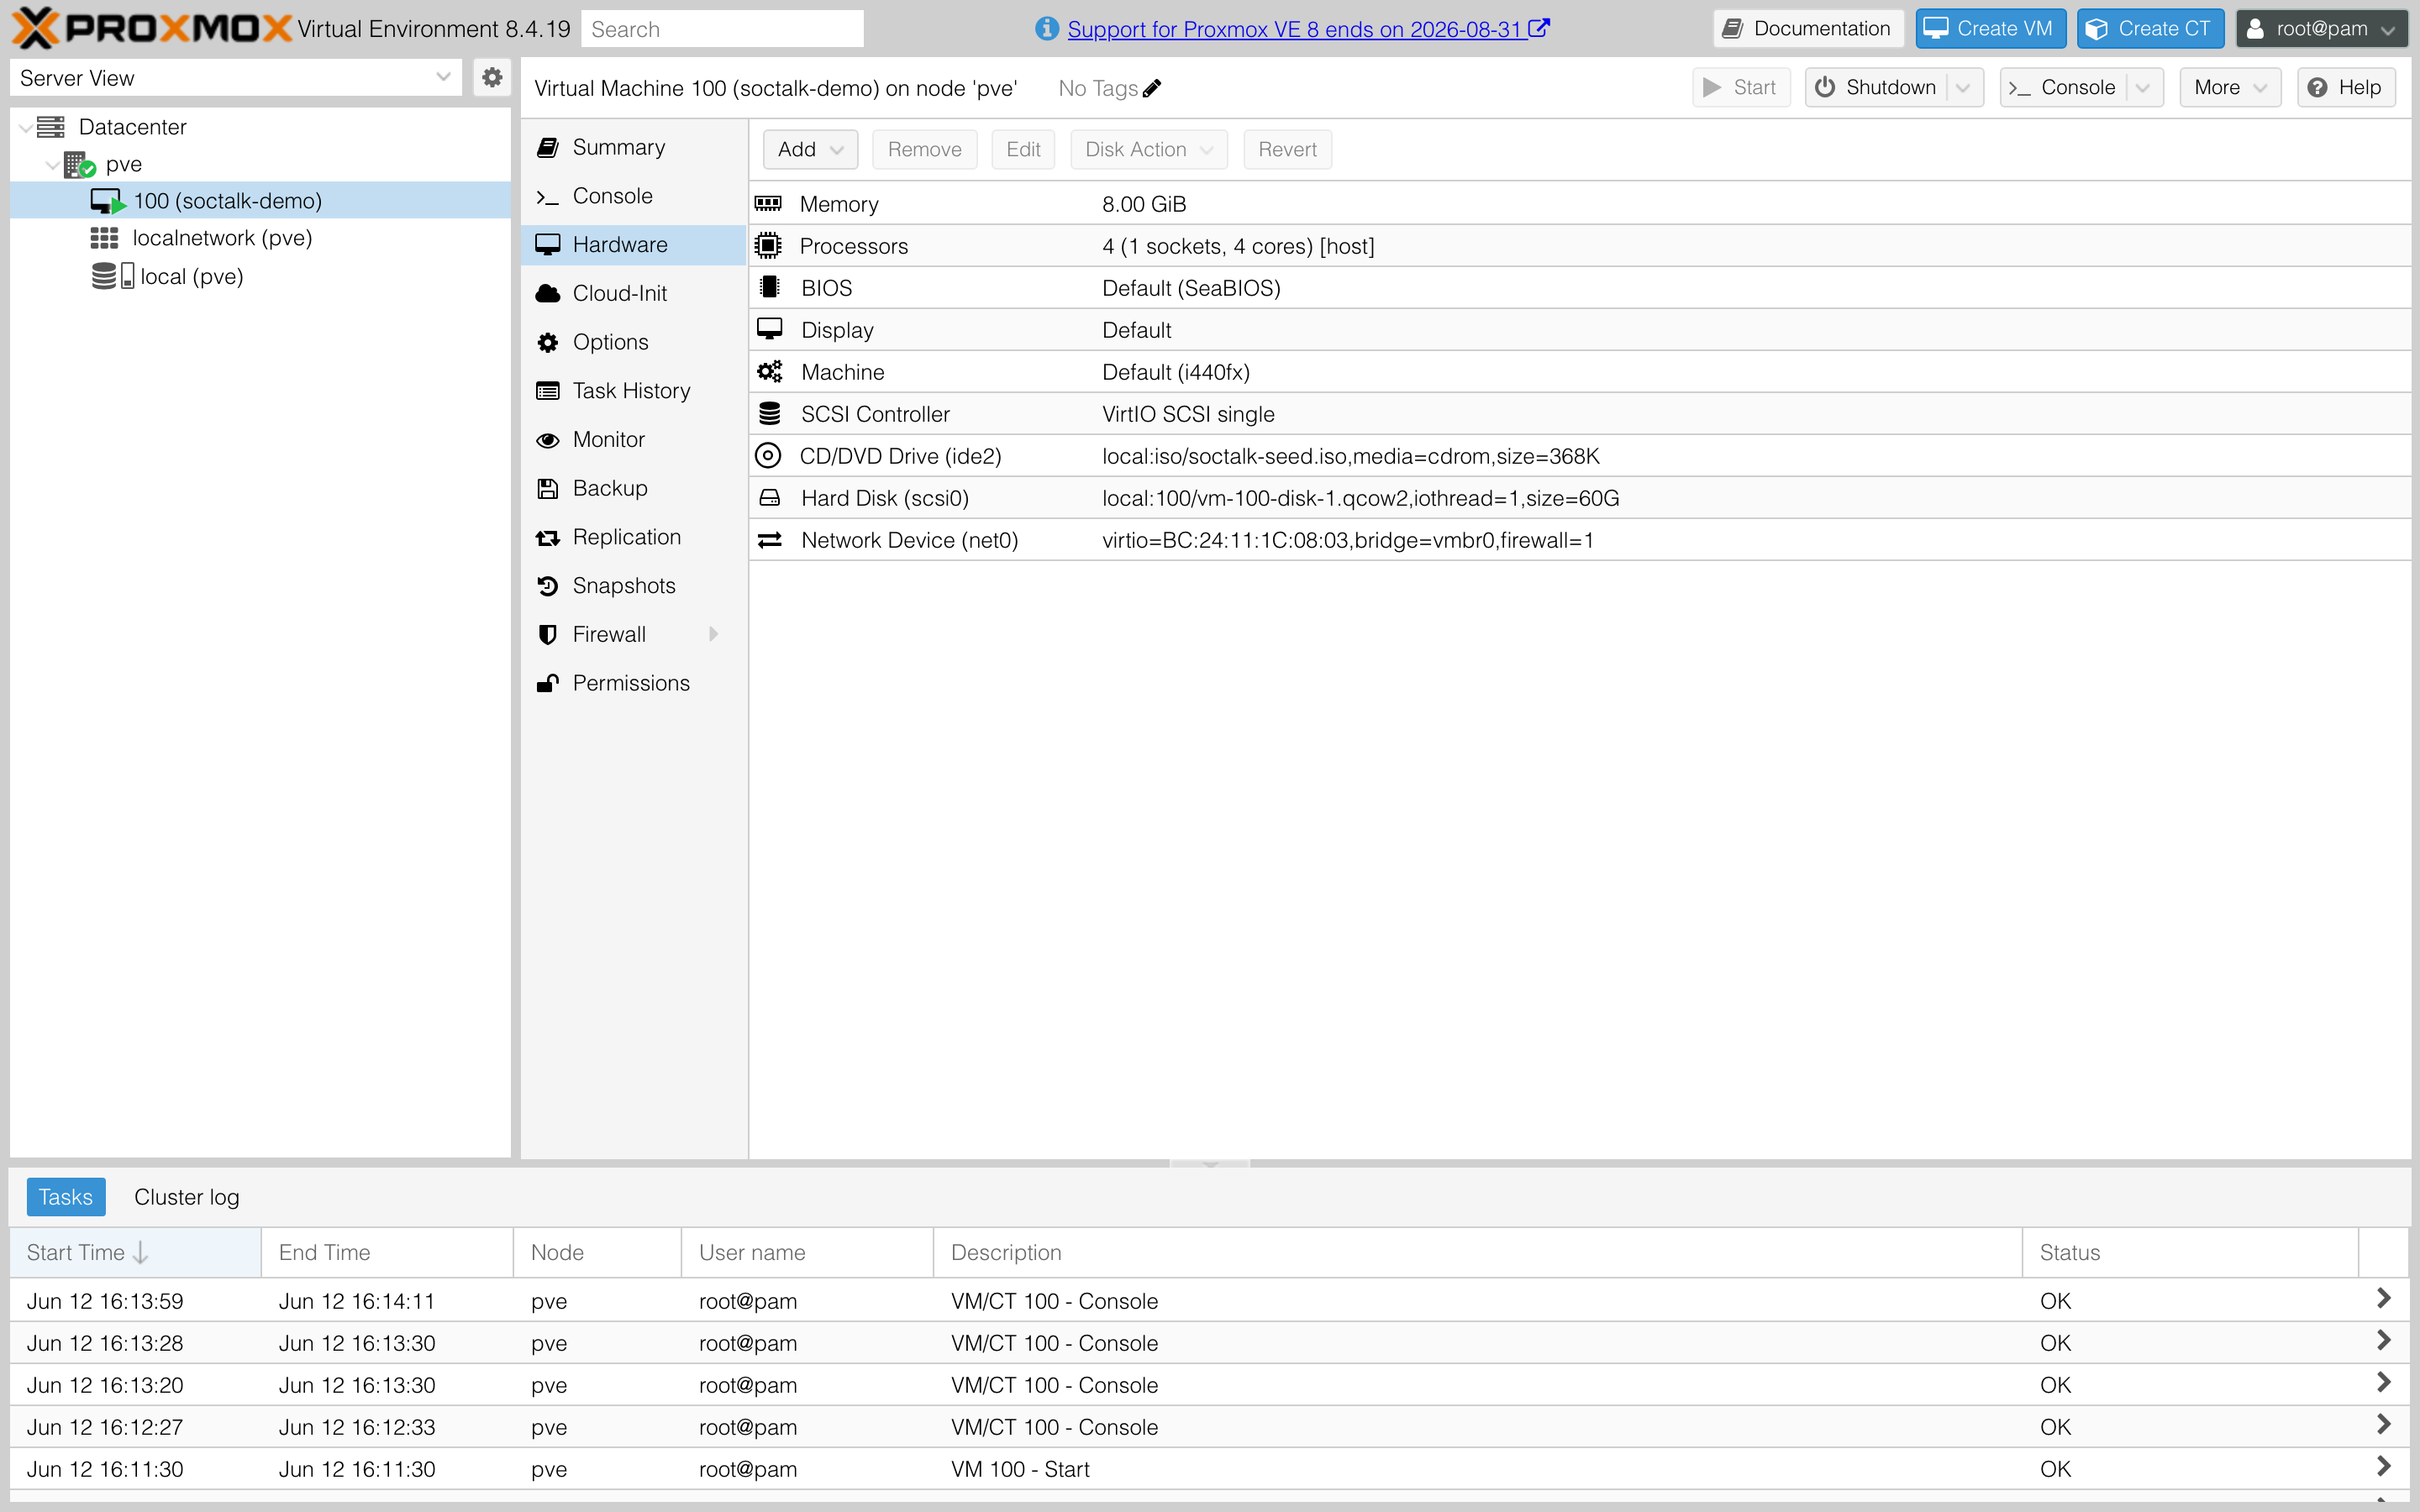
The Hardware panel should now look like this:
6. Start and find the VM's IP
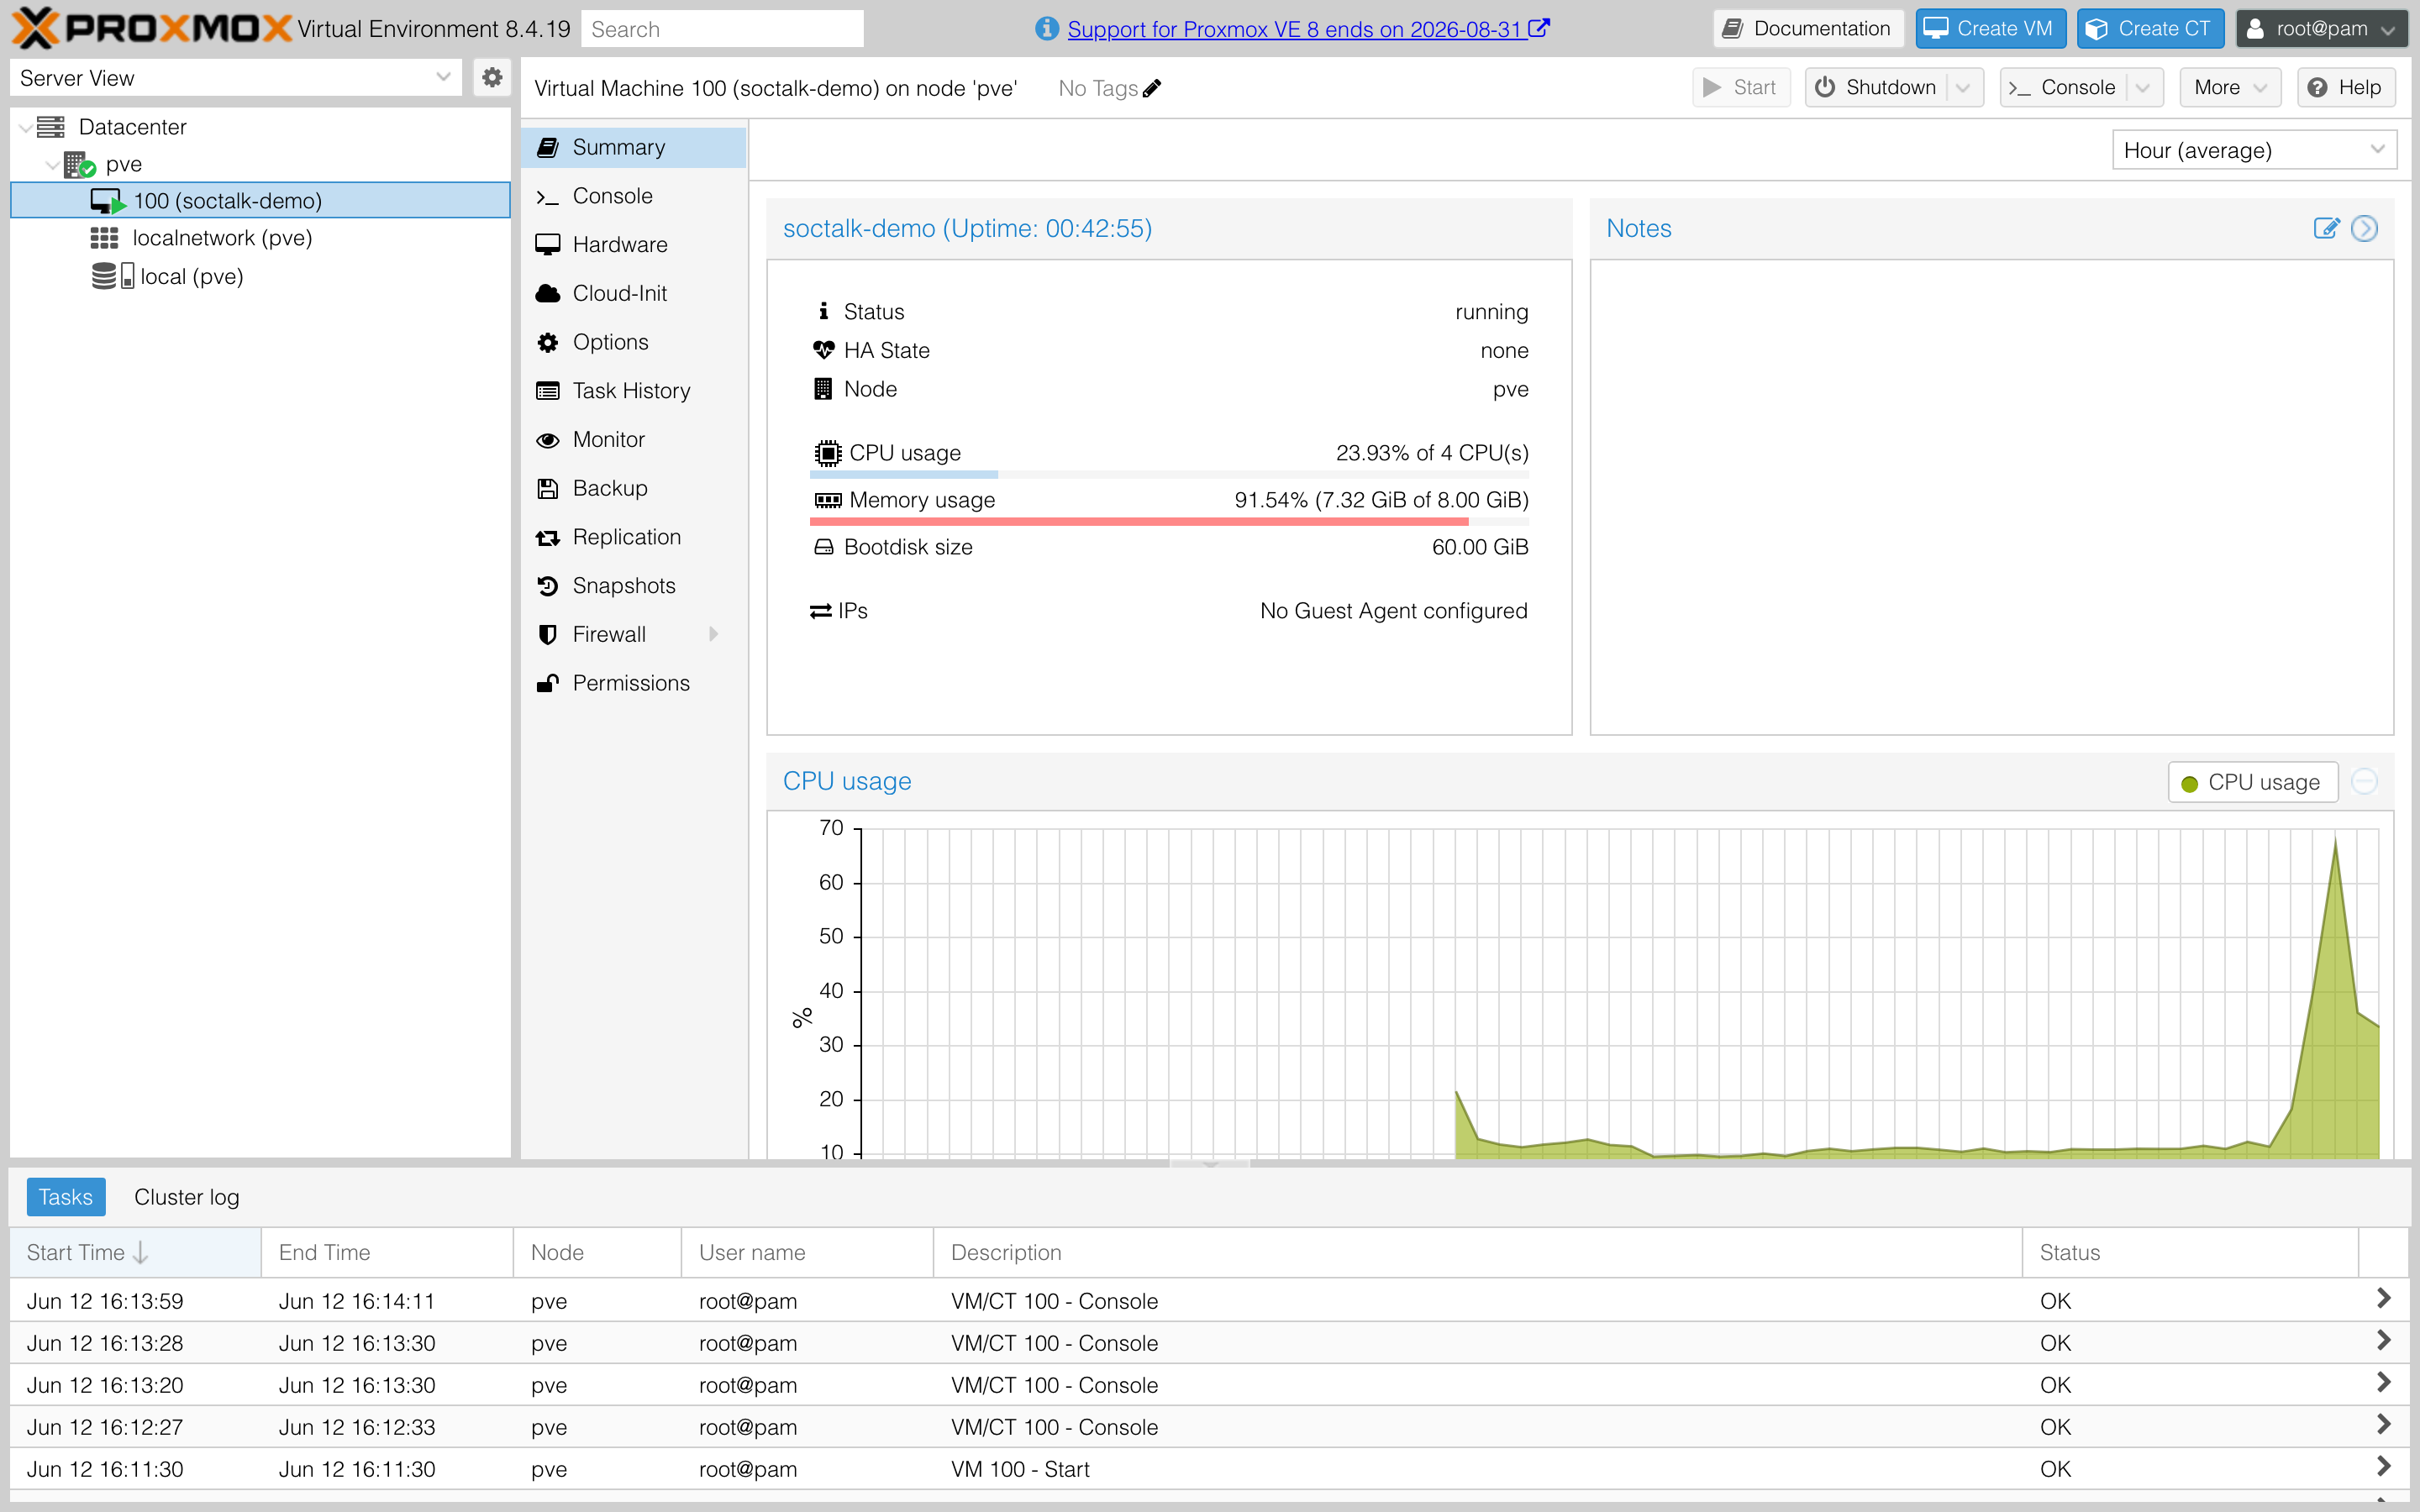
Click Start. The Summary panel shows the VM running:
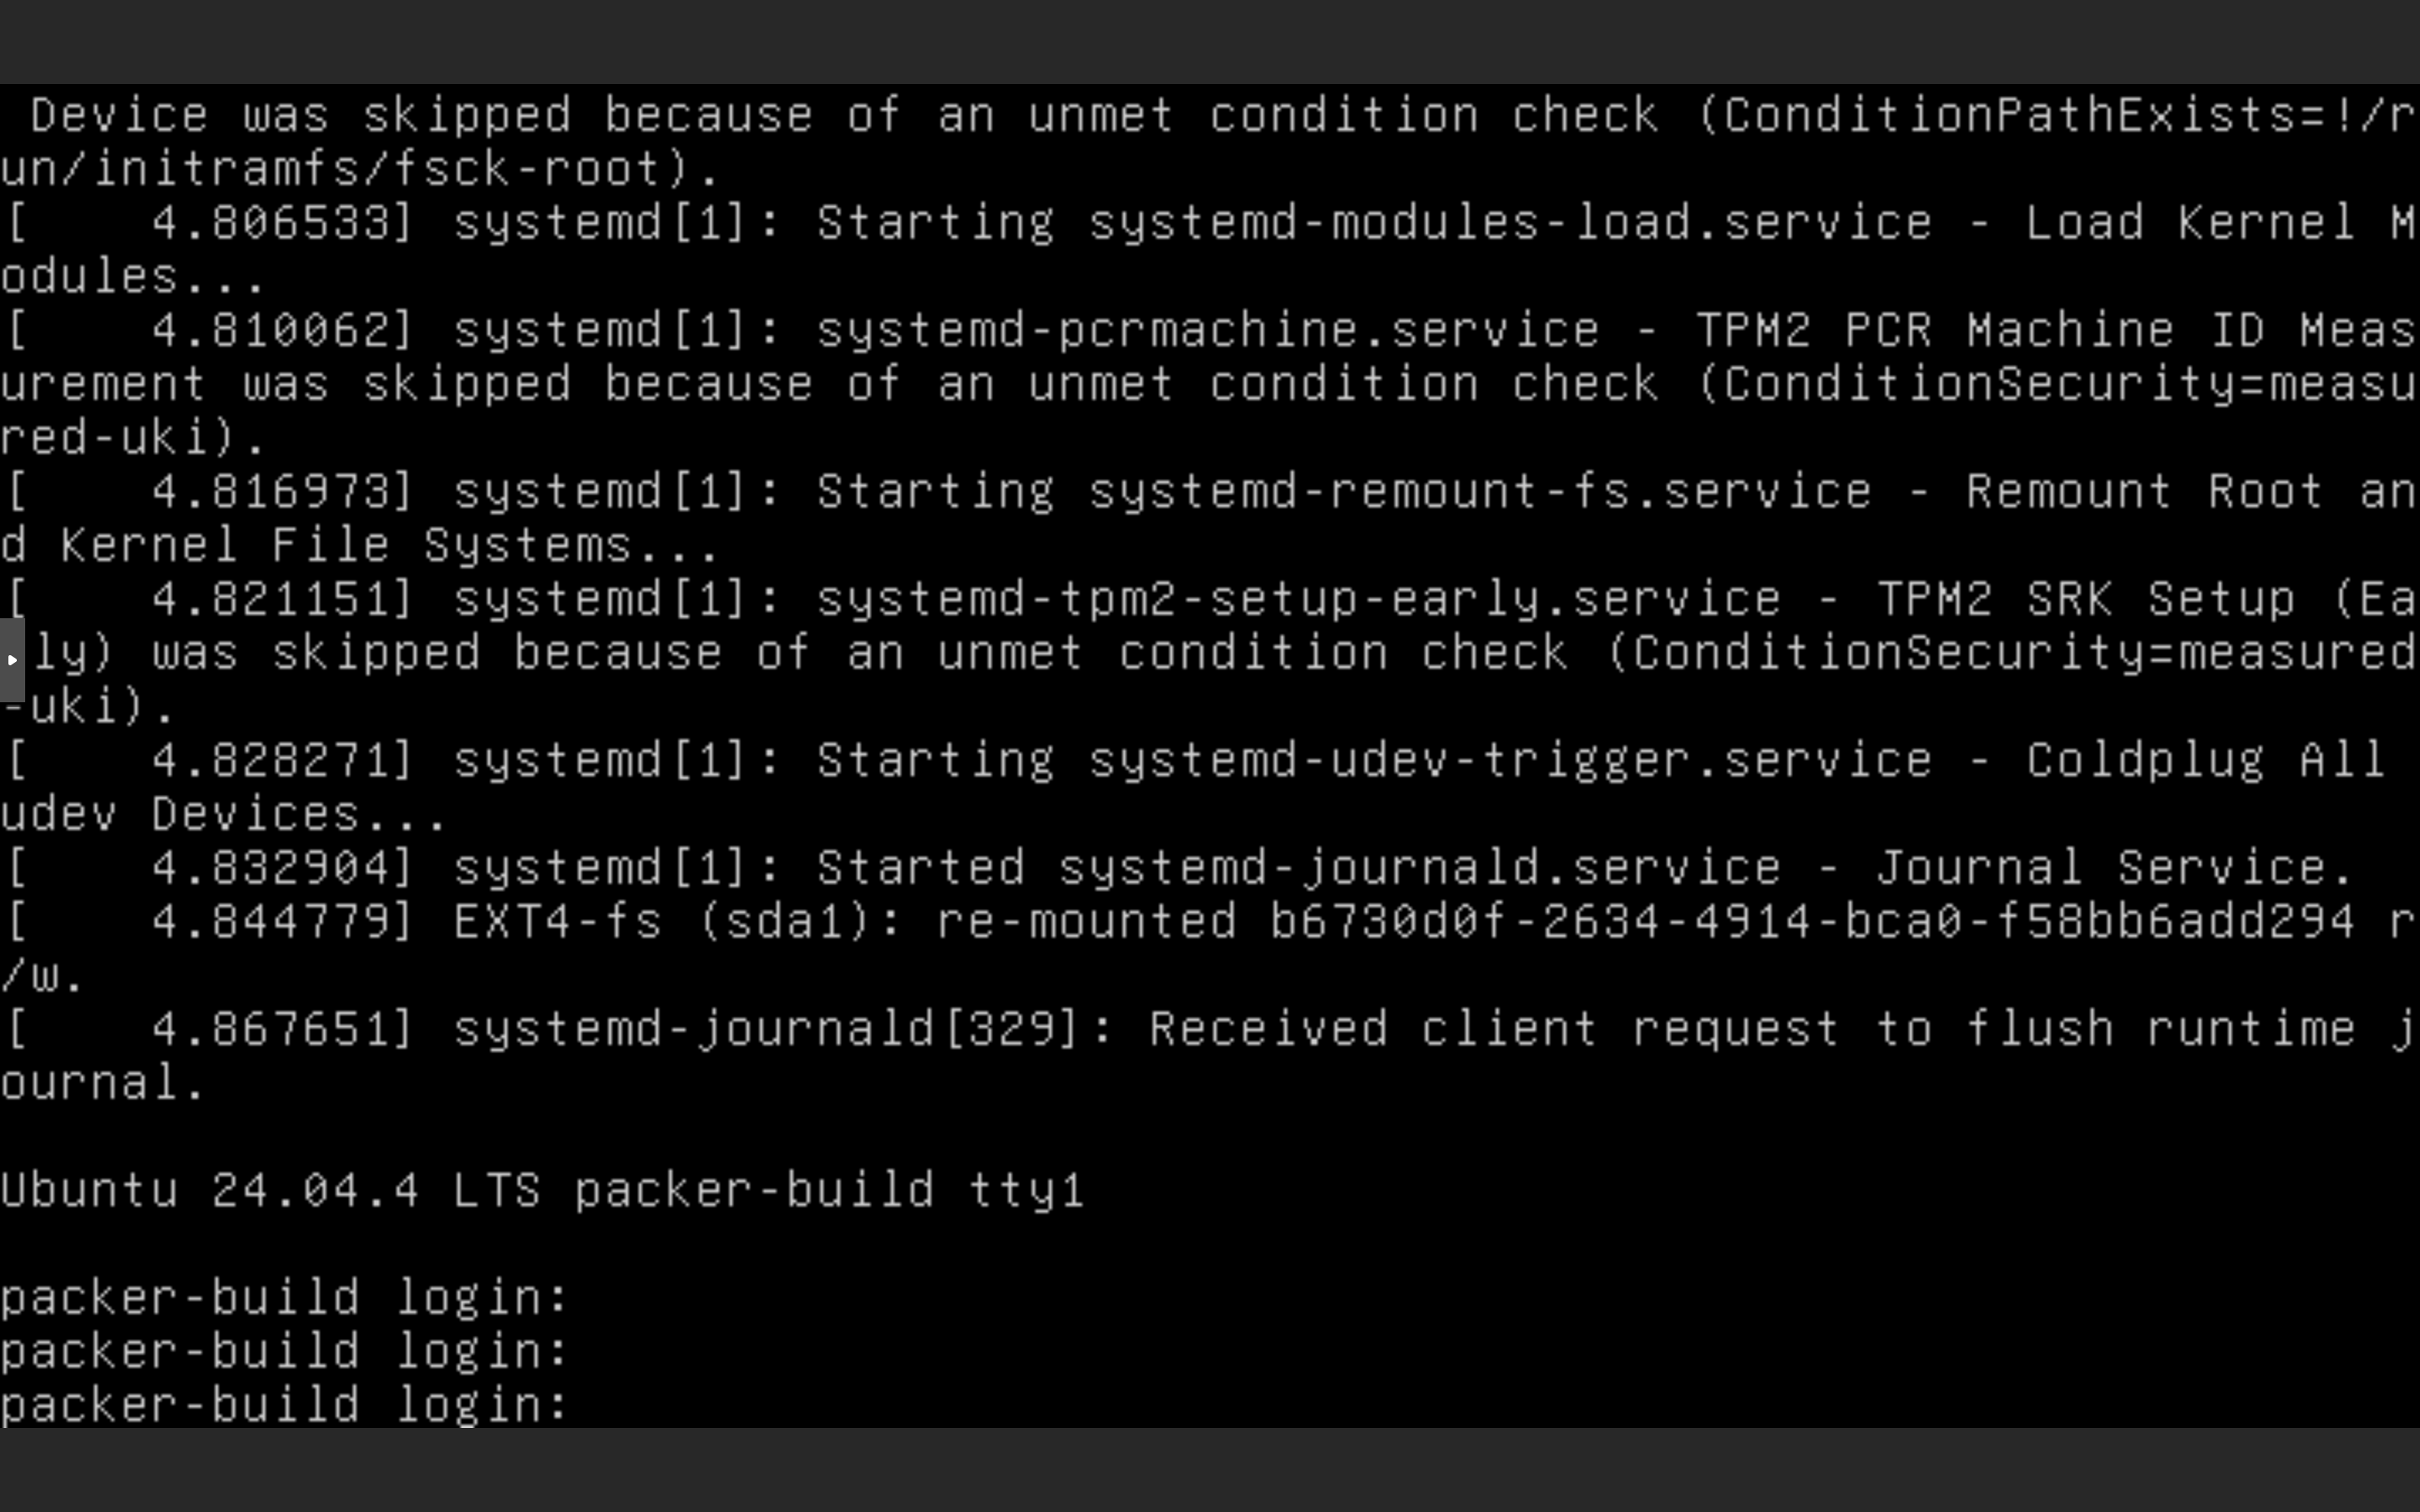
The Console shows the appliance booting to a login prompt:
The VM takes a DHCP lease from your LAN bridge. Find its IP from the console (login: ops works only via SSH key, use the console output or your DHCP server/router), or from the node:
# the MAC is on the VM's Network Device (net0)
grep -B2 -A2 "$(qm config 100 | grep -oP 'virtio=\K[^,]+')" /var/lib/misc/dnsmasq.leases 2>/dev/null \
  || arp -an | grep -i "$(qm config 100 | grep -oP 'virtio=\K[^,]+')"
7. Run the wizard and sign in
Same flow as every platform from here:
ssh ops@<vm-ip> sudo cat /var/log/soctalk-setup-tokenBrowse to https://<vm-ip>:8443/, accept the self-signed certificate, paste the token, and fill in the wizard (field reference). After submit, the first-boot installer runs helm install and onboards the demo tenant, about 2 minutes for the soctalk-system pods, then a few more for the demo tenant's Wazuh stack.
Then browse to https://<vm-ip>/ (port 443, not 8443), sign in with the wizard's admin credentials, and continue with the MSSP UI Tour. If you left the hostname blank in the wizard, map soctalk.local to the VM IP in /etc/hosts and use https://soctalk.local/.
Troubleshooting
| Symptom | Check |
|---|---|
qm disk import fails with a storage error | The target storage must allow Disk image content: Datacenter → Storage → edit → Content |
| VM boots to "No bootable device" | Boot order still points at the deleted default disk, Options → Boot Order → scsi0 first |
| Wizard prompts but no SSH | The seed ISO isn't attached (Hardware → ide2) or the key in user-data is wrong; you can read the token from the Console instead: sudo cat /var/log/soctalk-setup-token |
| VM has no IP | ip a from the Console; check the bridge in Hardware → net0 matches a bridge with DHCP on your LAN |
| VM has an IP but no internet (NAT bridge setups) | PVE sets bridge-nf-call-iptables=1, which can make bridged traffic bypass a MASQUERADE rule scoped to the uplink interface. sysctl -w net.bridge.bridge-nf-call-iptables=0 (if you don't use the PVE firewall) or use an interface-agnostic rule: iptables -t nat -A POSTROUTING -s <subnet> ! -d <subnet> -j MASQUERADE, then flush conntrack |
| Anything past the wizard | Same as every platform, see the Quickstart troubleshooting table |