
Quickstart: SocTalk demo VM
The fastest way to try SocTalk end-to-end: download a pre-built VM image, boot it, open the setup wizard in your browser, click through. Five minutes to a running multi-tenant install with a demo tenant onboarded.
This path is for evaluators and demos: for a production install on your own cluster see Install.
What's inside the image
- Ubuntu 24.04 LTS, cloud-init enabled
- K3s with bundled Traefik ingress
- Helm + a pre-pulled
soctalk-systemchart - A first-boot setup wizard on
:8443 - A first-boot installer (
soctalk-firstboot.service) that runs after the wizard collects config - The image is the same regardless of format (qcow2 / vmdk / vhdx / vhd / raw); pick whichever your hypervisor consumes natively. See Downloads.
1. Download
Pick the format for your hypervisor on the Downloads page. Examples:
# KVM / Proxmox / libvirt
curl -L -o soctalk-demo.qcow2.xz \
  https://github.com/soctalk/soctalk/releases/latest/download/soctalk-demo-<ver>.qcow2.xz
xz -d soctalk-demo.qcow2.xz
Verify the checksum:
curl -L -O https://github.com/soctalk/soctalk/releases/latest/download/SHA256SUMS.txt
sha256sum -c SHA256SUMS.txt --ignore-missing
2. Boot the image
KVM / libvirt (CLI)
qemu-system-x86_64 \
  -m 8G -smp 4 -enable-kvm -cpu host \
  -drive file=soctalk-demo.qcow2,format=qcow2,if=virtio \
  -netdev user,id=net0,hostfwd=tcp::18022-:22,hostfwd=tcp::18443-:8443 \
  -device virtio-net,netdev=net0 \
  -nographic
Proxmox VE
qm disk import <vmid> soctalk-demo.qcow2 <storage>, then attach as SCSI and boot. Full walkthrough with web-UI screenshots: Run on Proxmox.
VMware
Import soctalk-demo.vmdk as an existing disk on a new VM (Linux, Ubuntu 64-bit).
VirtualBox
Convert soctalk-demo.vmdk to VDI and attach it to a new VM. Full walkthrough with screenshots: Run on VirtualBox.
Hyper-V
Use soctalk-demo.vhdx as the OS disk on a Generation 1 VM (the image boots via BIOS firmware; Generation 2 / UEFI is untested). To inject an SSH key, attach a NoCloud seed.iso as a DVD drive, see Optional: cloud-init seed.
AWS
Build a native AMI with Packer, or import soctalk-demo.vmdk as an AMI with VM Import. Full walkthrough: Run on AWS.
Azure
Upload soctalk-demo.vhd (fixed-size) directly to a Managed Disk, then create a Generation 1 image and VM from it. Full walkthrough: Run on Azure.
Raw / dd
soctalk-demo.raw is bit-for-bit what's on disk. Suitable for generic cloud image import (GCP, OpenStack) or for writing to a physical disk with dd.
Minimum sizing: 4 vCPU, 8 GB RAM, 60 GB disk. See Sizing.
3. Get the setup token
The wizard binds :8443 with TLS (self-signed). It refuses connections without the per-boot setup token. SSH to the box and read it:
ssh ops@<vm-ip>
sudo cat /var/log/soctalk-setup-token
The recommended login is the ops user with your SSH key, created by the cloud-init seed in § Optional: cloud-init seed below. If you boot without a seed, see § SSH access + credentials for the build-time fallback, and read the security note there before exposing the VM to a network you don't trust.
4. Open the wizard
Browse to https://<vm-ip>:8443/. Accept the self-signed cert. You'll land on the token-entry page:
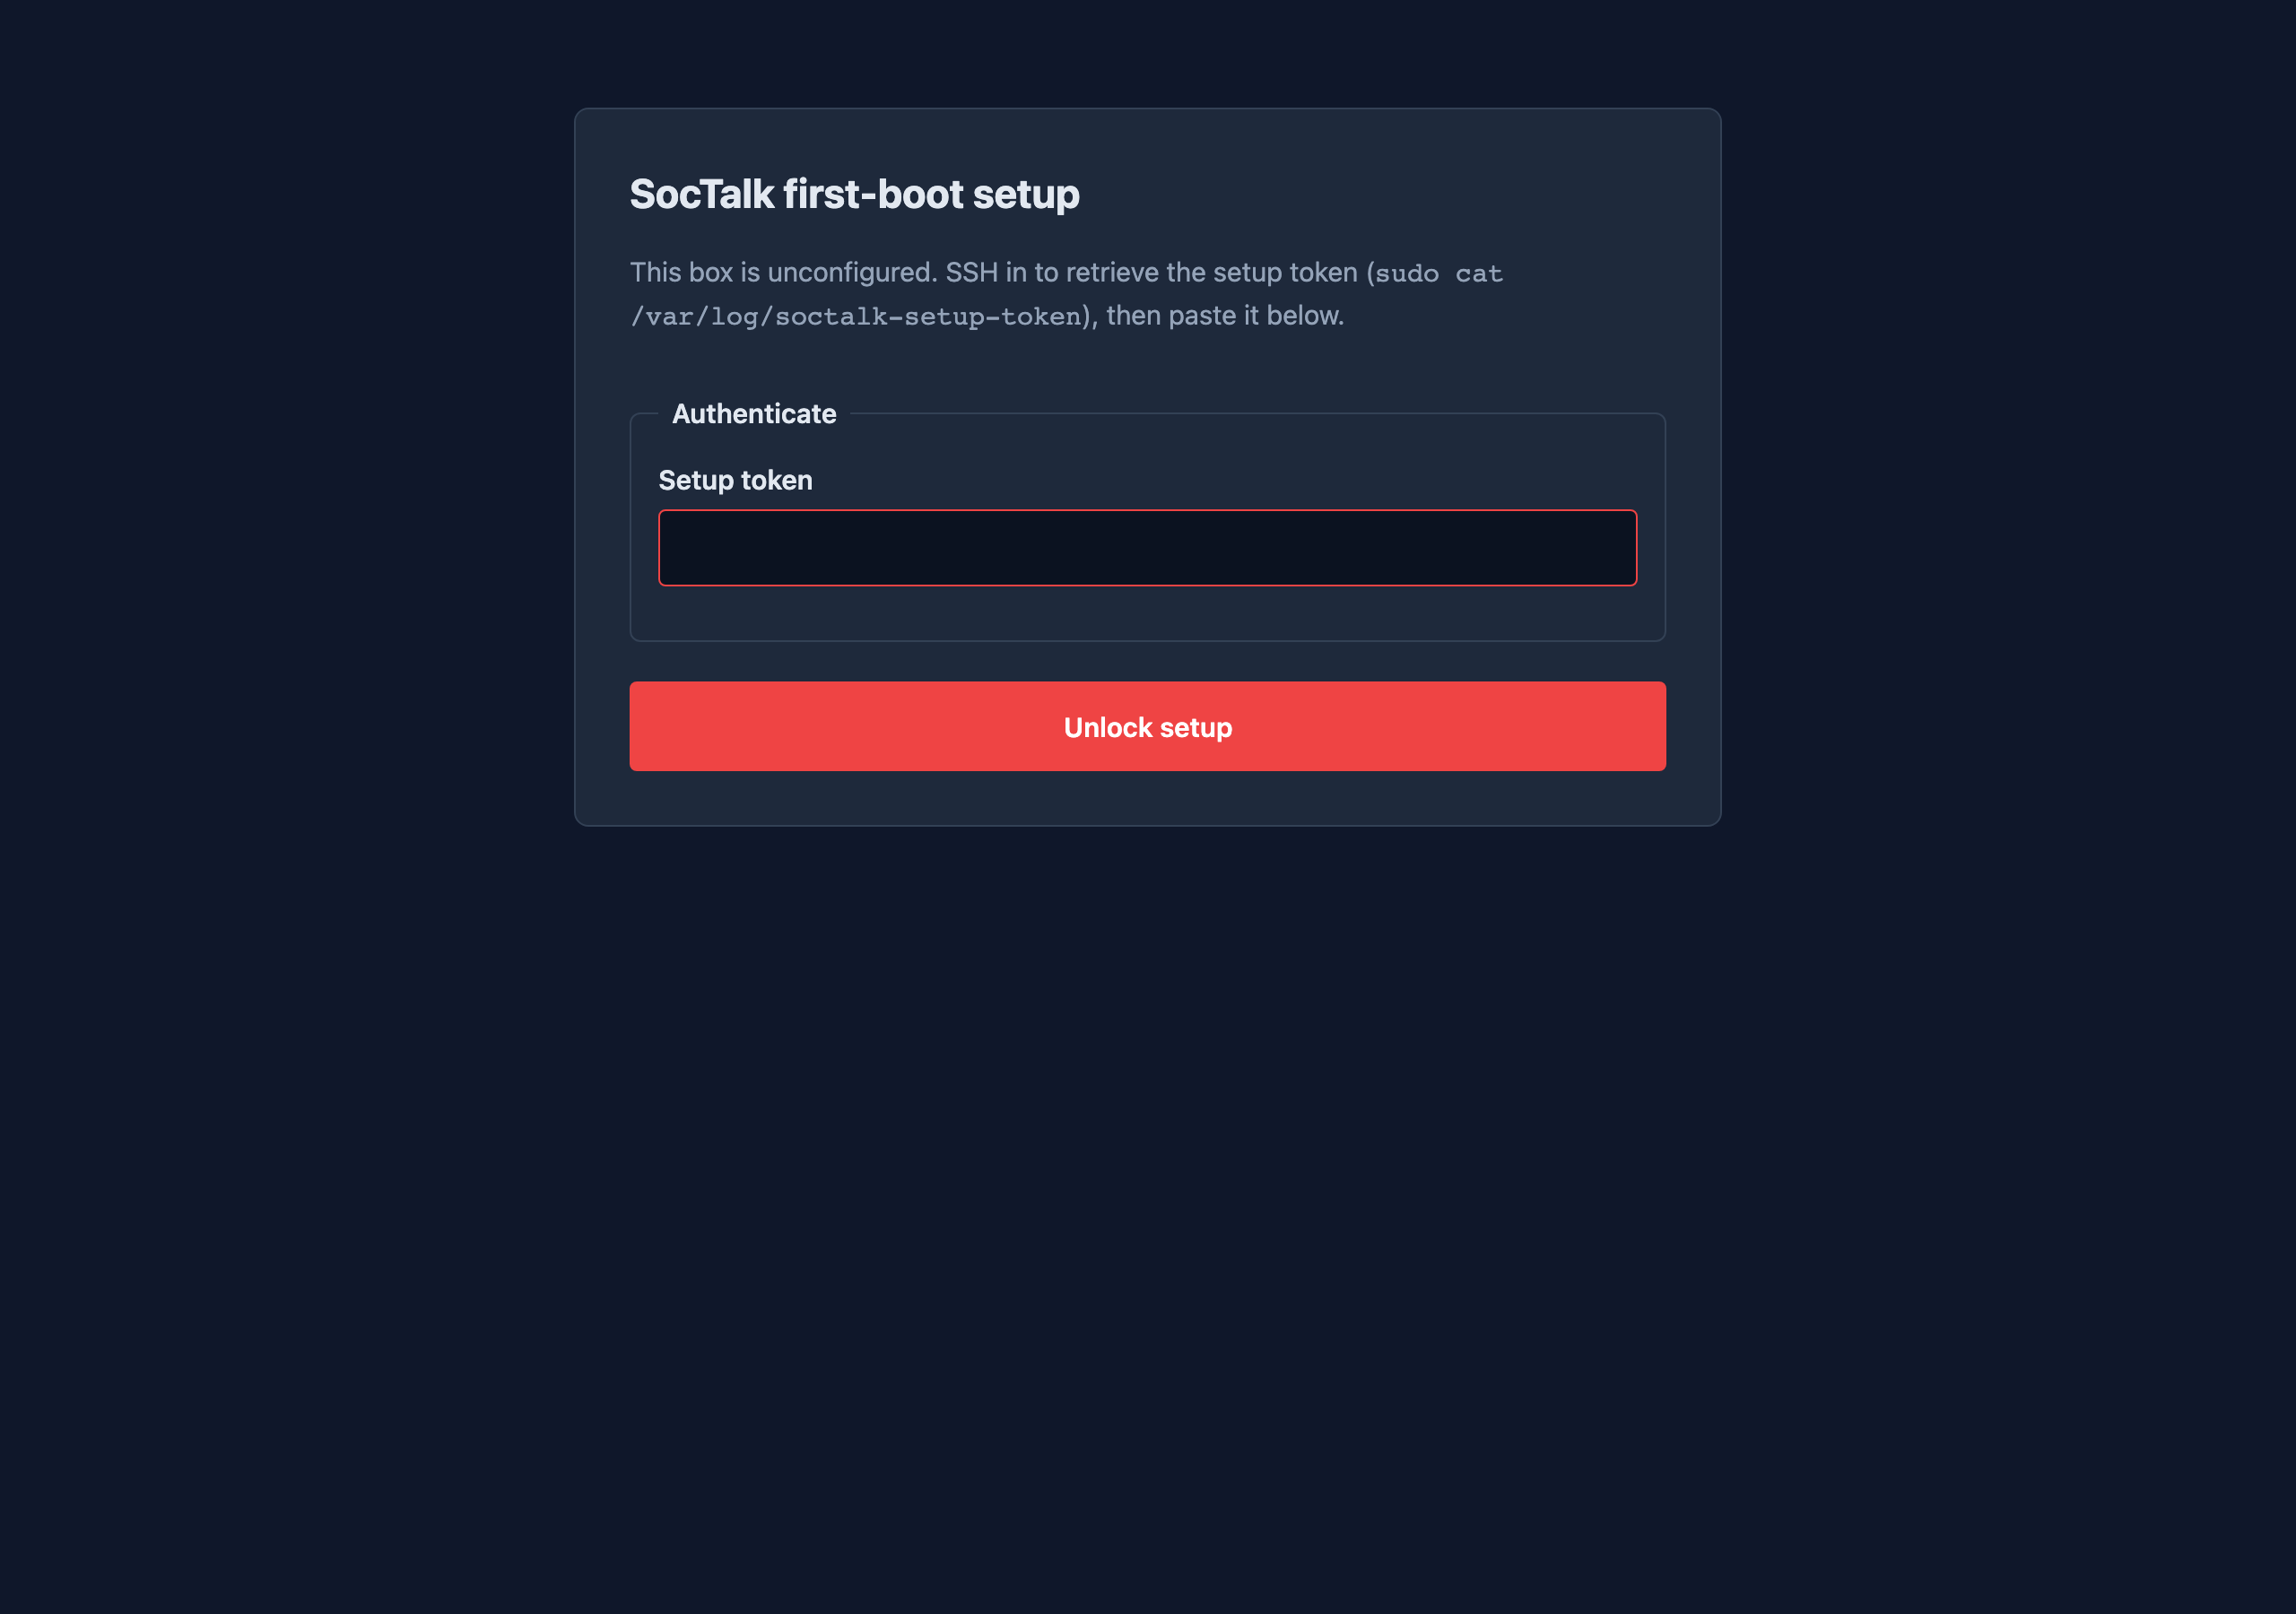
Paste the token, then fill in:
- MSSP / organization name
- Hostname (optional, leave blank to use the box IP)
- Admin email + password (min 12 chars)
- LLM provider + API key
See Setup wizard for the full field reference.
Submit. The wizard writes values.yaml, the LLM Secret, and an onboarding env-file, then exits. The first-boot installer takes over:
- Starts k3s
- Creates
soctalk-systemnamespace + LLM Secret helm install soctalk-system- Logs in as the bootstrap admin and onboards a
demotenant viaPOST /api/mssp/tenants/onboard
Total wall-clock from submit: about 2 minutes for soctalk-system pods Ready, then another 1–3 minutes for the demo tenant's Wazuh stack to reach Ready.
5. Sign in
Browse to https://<vm-ip>/ (note: port 443, not 8443, the wizard binds 8443 specifically to avoid conflicting with Traefik). The MSSP dashboard expects a DNS name; if you used a blank hostname add a /etc/hosts entry pointing soctalk.local at the VM IP and browse to https://soctalk.local/.
Sign in with the admin email + password you set in the wizard. You'll land on the MSSP dashboard. Continue with the MSSP UI Tour.
Optional: cloud-init seed
If you want to inject an SSH key (or skip the wizard entirely by supplying values.yaml directly), pass cloud-init user-data via NoCloud:
cat > user-data <<EOF
#cloud-config
users:
  - name: ops
    sudo: ALL=(ALL) NOPASSWD:ALL
    ssh_authorized_keys:
      - ssh-ed25519 AAAA...your-key
EOF
echo "instance-id: $(uuidgen)" > meta-data
cloud-localds seed.iso user-data meta-data

# attach seed.iso as a second drive on first boot.
To skip the wizard, drop /etc/soctalk/values.yaml + /etc/soctalk/llm.key via cloud-init write_files; the wizard's systemd condition (ConditionPathExists=!/etc/soctalk/values.yaml) will short-circuit and the installer goes straight to helm install.
SSH access + credentials
The downloadable disk images (qcow2 / vmdk / vhdx / vhd / raw) all ship with two possible login identities. Which one you use depends on whether you provided cloud-init user-data.
Production: ops user (recommended)
The cloud-init seed in § Optional: cloud-init seed creates an ops user with your SSH key. SSH-key auth only, no password is set.
ssh -i ~/.ssh/<your-private-key> ops@<vm-ip>

# Root shell, no further password
sudo -i
Build-time ubuntu user (present in every shipped image)
The Packer build uses a build-time ubuntu user with a known password. The cleanup step that should lock this account hasn't been wired up yet, so it ships in the image. If you boot without a cloud-init seed it's the only way to get console access via SSH:
| User | Password | Sudo |
|---|---|---|
ubuntu | packer | ALL=(ALL) NOPASSWD:ALL |
Password SSH auth is enabled by the same seed, so the image accepts:
# Interactive
ssh ubuntu@<vm-ip>
# password: packer

# Non-interactive (requires sshpass)
sshpass -p packer ssh -o StrictHostKeyChecking=accept-new ubuntu@<vm-ip>

# Root shell, no further password
sudo -i
Hardening checklist
Run as ops after first boot, or fold into your cloud-init runcmd: so it fires automatically:
# Disable the build user
sudo passwd -l ubuntu
sudo usermod -s /usr/sbin/nologin ubuntu

# Turn off password SSH auth
sudo sed -i 's/^#\?PasswordAuthentication.*/PasswordAuthentication no/' \
  /etc/ssh/sshd_config /etc/ssh/sshd_config.d/*.conf 2>/dev/null
sudo systemctl reload ssh
The AWS AMI is built from a separate Packer source (amazon-ebs) that doesn't include the seed and uses EC2's keypair injection instead, it doesn't carry the ubuntu:packer credential. The hardening checklist still applies to it for the standard AMI ubuntu cloud-image user.
Next step: onboard customers with Launchpad
You've just run SocTalk end-to-end on a single co-located box. The natural next step is a real pilot, an MSSP control plane plus one or more tenant environments on your own infrastructure. Launchpad does exactly that with one command: it boots the VMs, joins them to your tailnet, installs SocTalk from public sources, and hands you a URL. (Prefer to run every step by hand? See the do-it-yourself MSSP pilot.)
Troubleshooting
| Symptom | Check |
|---|---|
| Wizard URL never loads | systemctl status soctalk-setup-wizard on the VM. If inactive, look at journalctl -u soctalk-setup-wizard |
| Wizard says "invalid token" | Token is in /var/log/soctalk-setup-token, owned by root. Use sudo cat. Each boot regenerates the token |
| Wizard says "rate-limited" | The wizard locks the IP after 10 failed token attempts. Wait 1 h or systemctl restart soctalk-setup-wizard (this rotates the token too) |
helm install stalls | kubectl get pods -A from the box; journalctl -u soctalk-firstboot -f |
| Demo tenant's adapter / runs-worker pods stuck in ImagePullBackOff | The chart pins tenant image tags to the release; check the tag the API hands the provisioner and set a published version. See Troubleshooting |
For a clean reset: delete /var/lib/soctalk-firstboot.done, /var/lib/soctalk-wizard.done, /etc/soctalk/values.yaml, then systemctl restart soctalk-setup-wizard.